Making A Raspberry Pi Grafana Monitor
Table of Contents
Intro #
For a while now I’ve wanted a compact, ‘at a glance’ look at some of my lab statistics and other things in my flat, since my lab is elsewhere. Originally I started looking for 4k monitors that could be rotated vertically, then I started looking for small hobby boards that could output in 4k and eventually just putting the project to a side and spending my money elsewhere.
Recently, I got an old monitor from work that I was using as a VGA input for some stuff from time to time as my TV has no VGA, but eventually decided that this would be a cool thing to revisit using this monitor, even if it is not as flashy I first envisaged.
Shit You’ll Need #
This project is rather light on both resources and expenditure, so fear not.
Some form of monitor from this decade that can rotate 90/270 degrees #
Now, this can be found extremely easy on sites such as eBay or your local buying and selling communities online. Ideally, the higher the resolution the better bearing in mind the Pi can output a maximum resolution of 1920x1080.
Ideally, if you’re going to be displaying a dashboard it makes sense that the monitor rotate 90 degrees, but if you’re not bothered about this then that’s fine, it just looks a lot nicer for graphs, in my opinion.
What you chose is entirely up to you, you can spend as much or as little as you want. The screen I got is a Dell Ultrasharp 2007wfp**.** Honestly, I would never buy this for myself, I’m only using it because it was free, but if you think it looks good and can get one for cheap (you almost certainly can) then go for it, it does the job.
Raspberry Pi 3 b+ & Accessories #
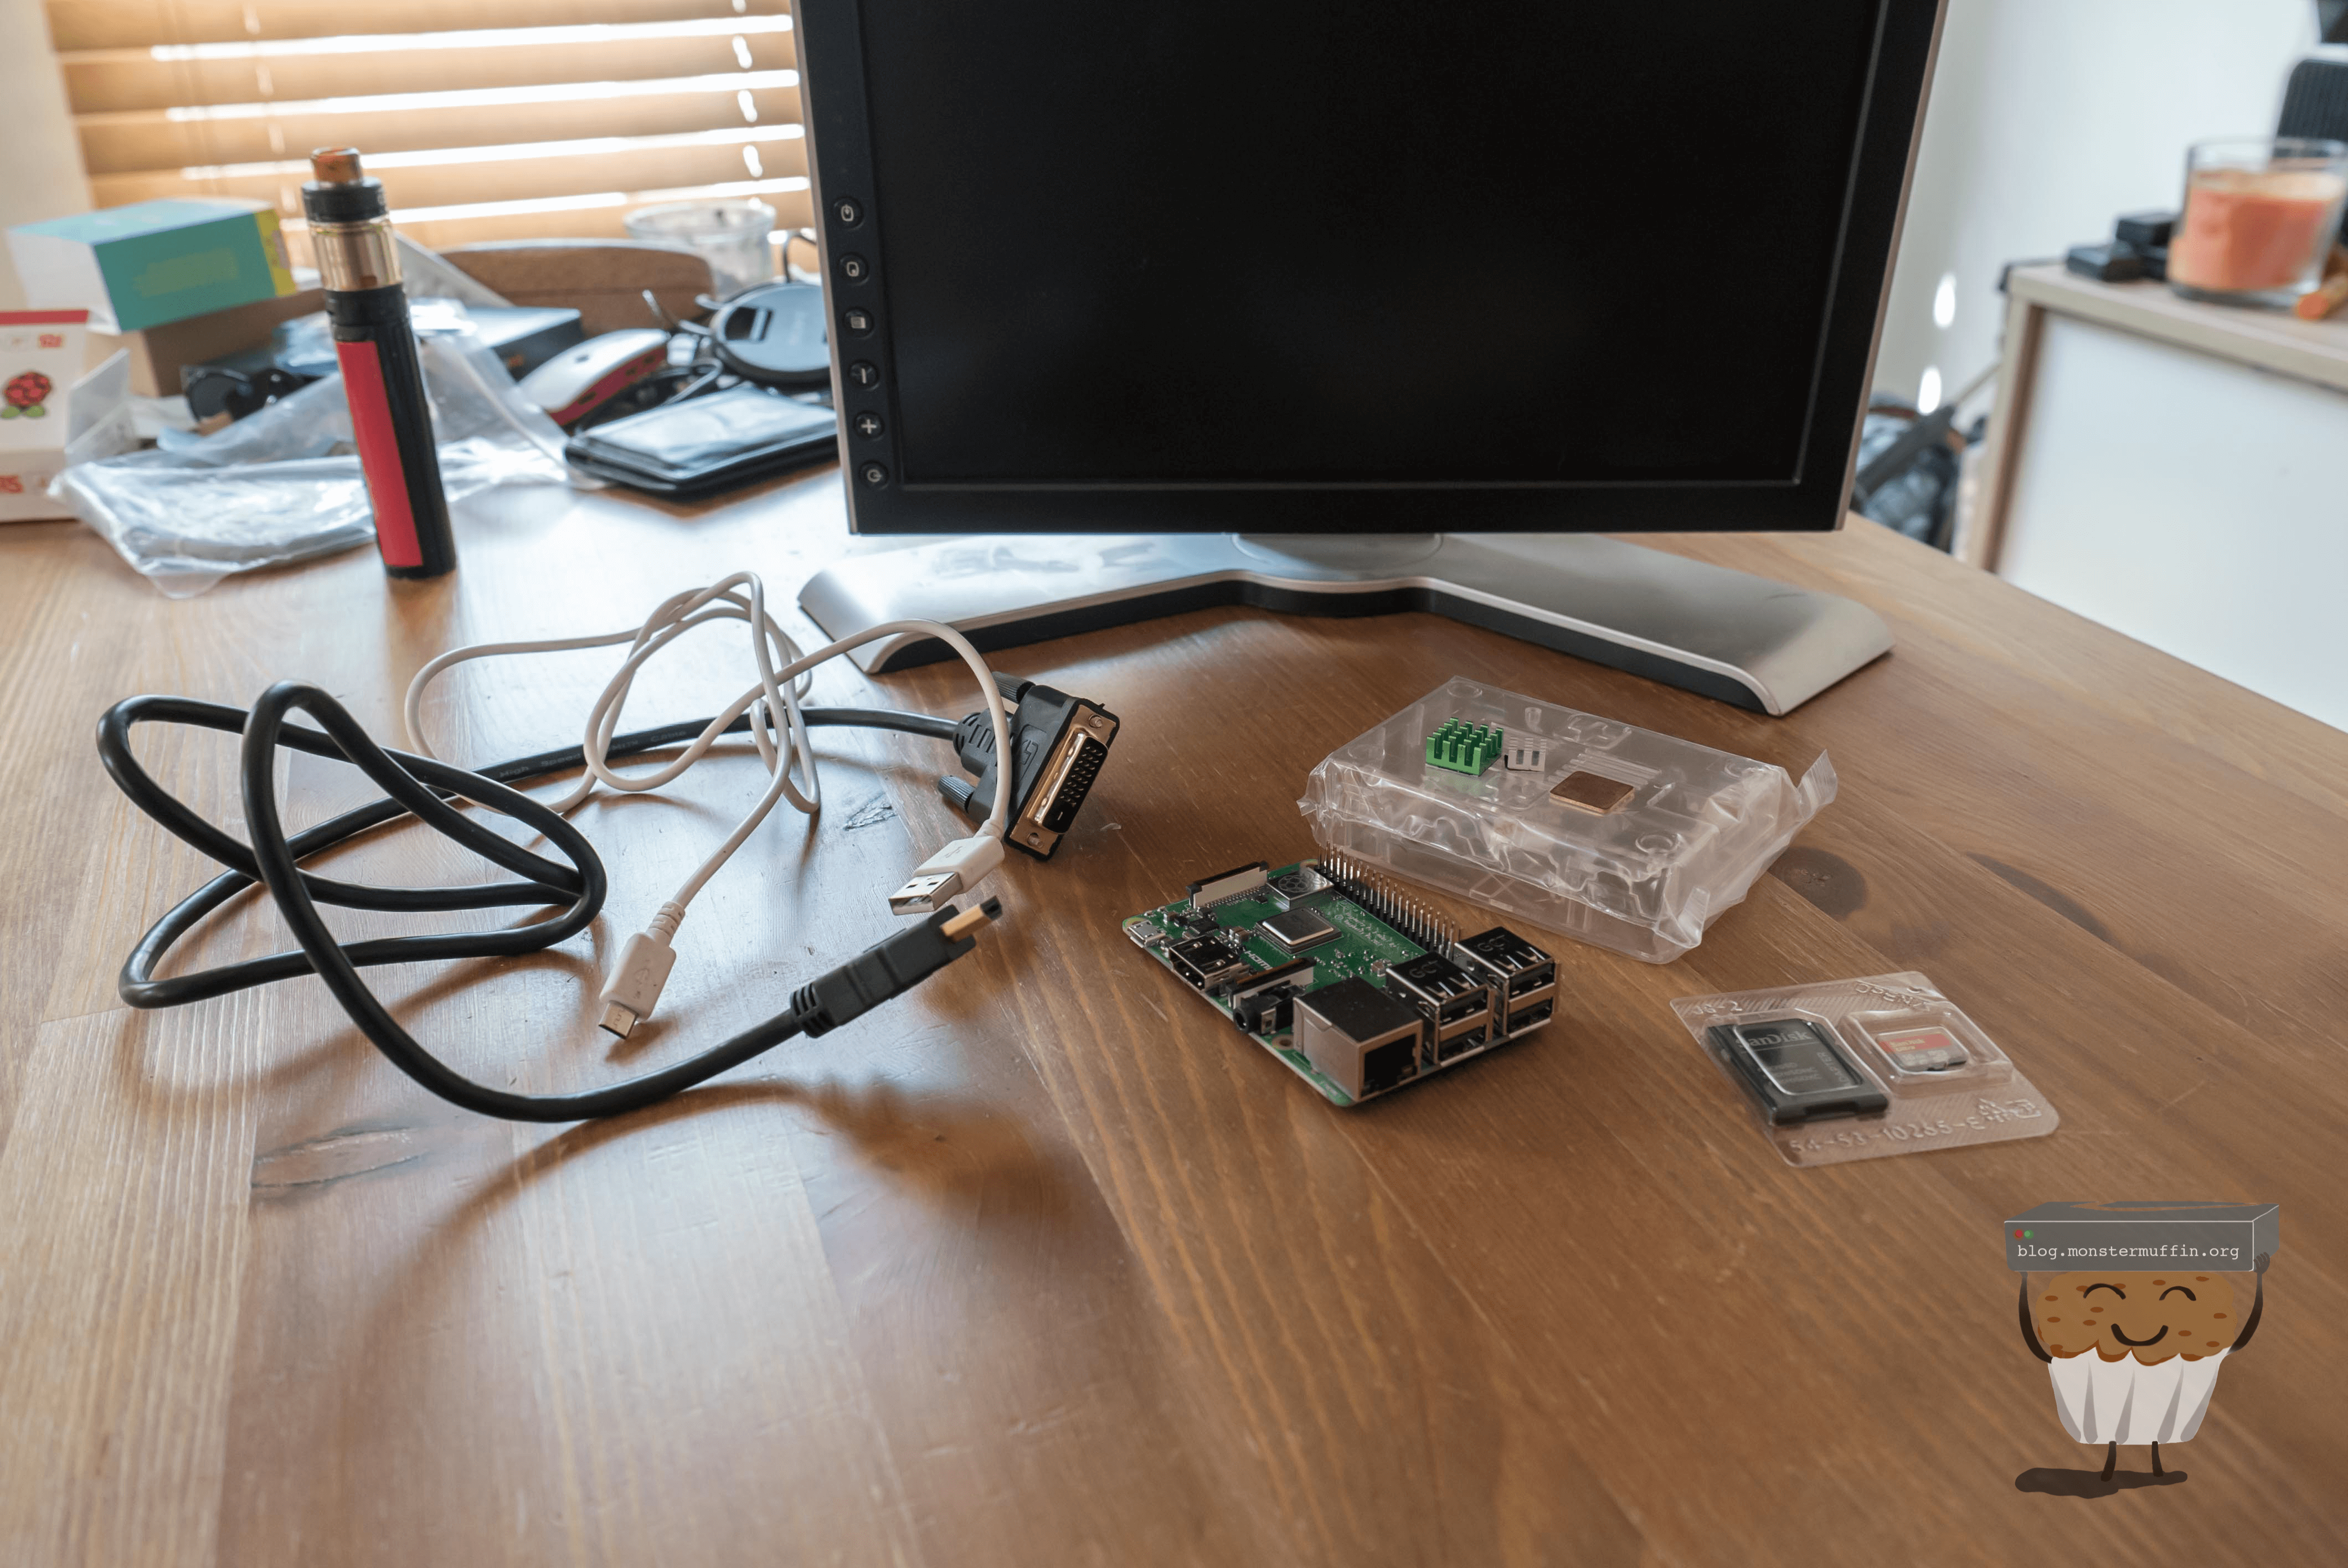
The Pi - So, the other main thing you’ll need for this, is, obviously, everyone’s favourite micro hobby computer. I chose to get one on its own and buy the other stuff separately…
Get a case - So I opted to buy a clear case as I like those ones, I don’t normally put the tops on them for ventilation. We need a case however as we will be mounting this at the back of the monitor, and you shouldn’t do this without a case.
SD card - Get anything. I’m not a massive fan of Sandisk but they’re where it’s at for the price so whatever really. Just make sure it’s a minimum of 8GB.
Power Supply - I haven’t used one personally (you’ll see why) but you may well need one. So make sure you have something to power the Pi, obviously.
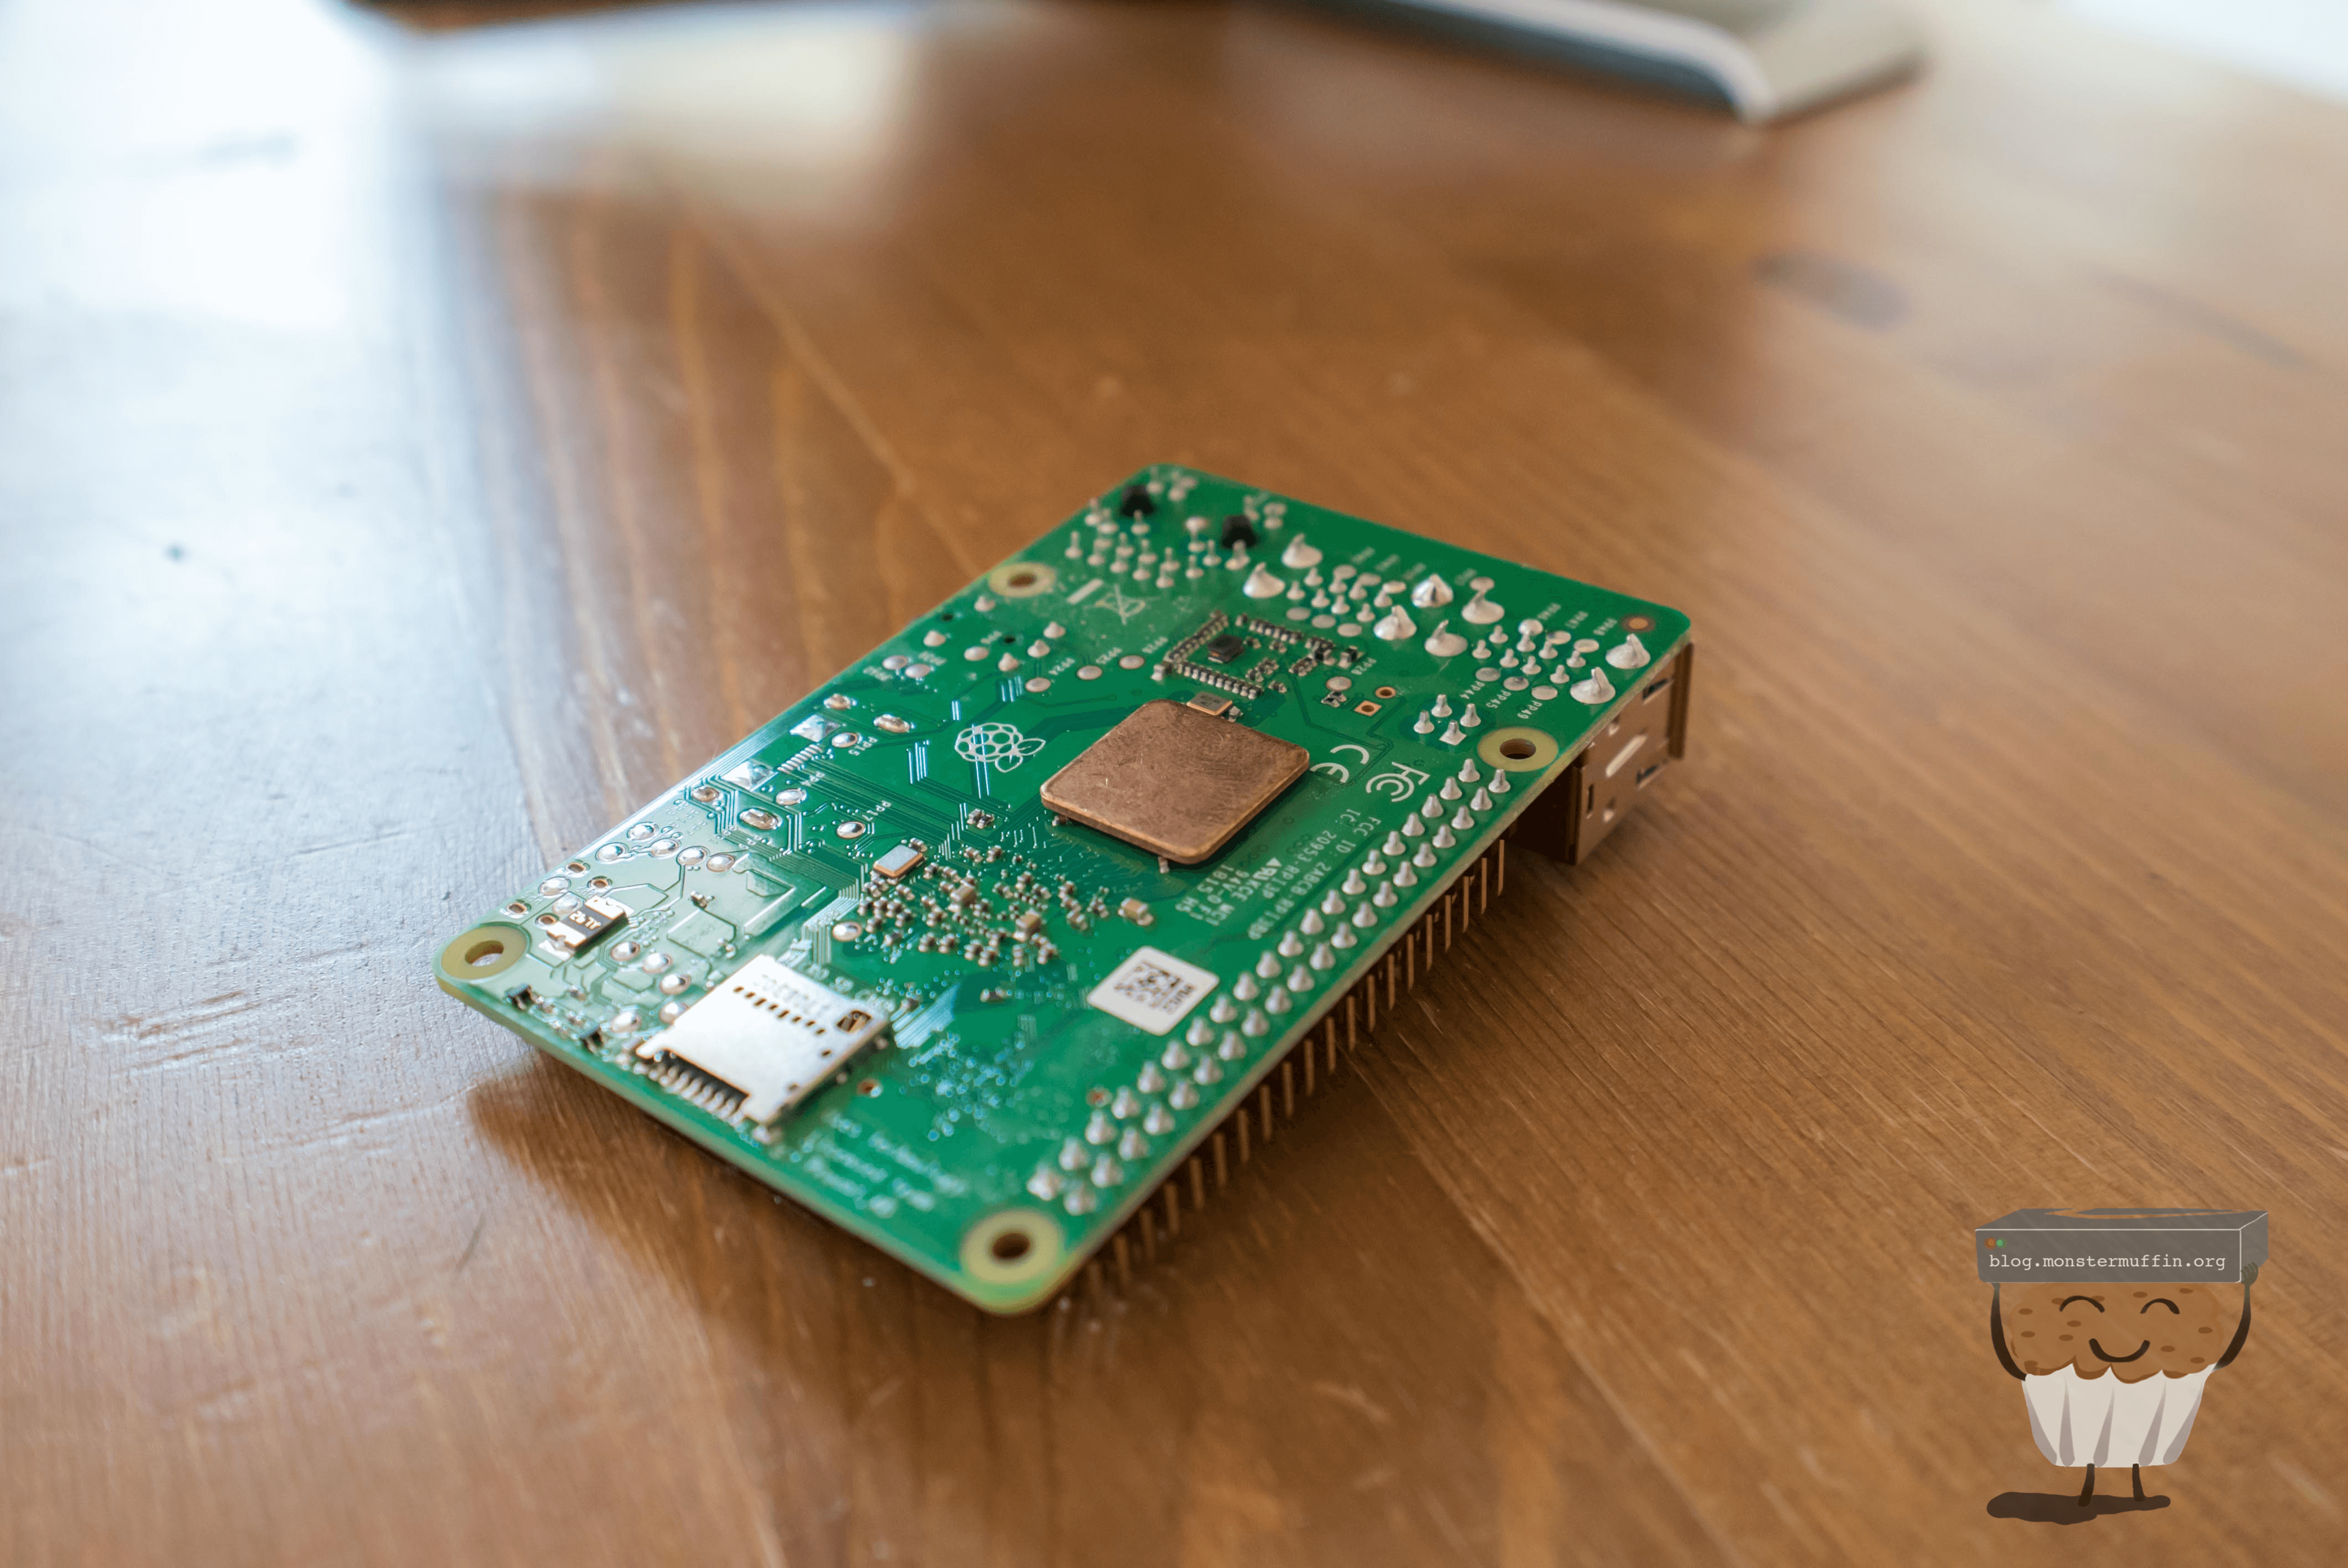
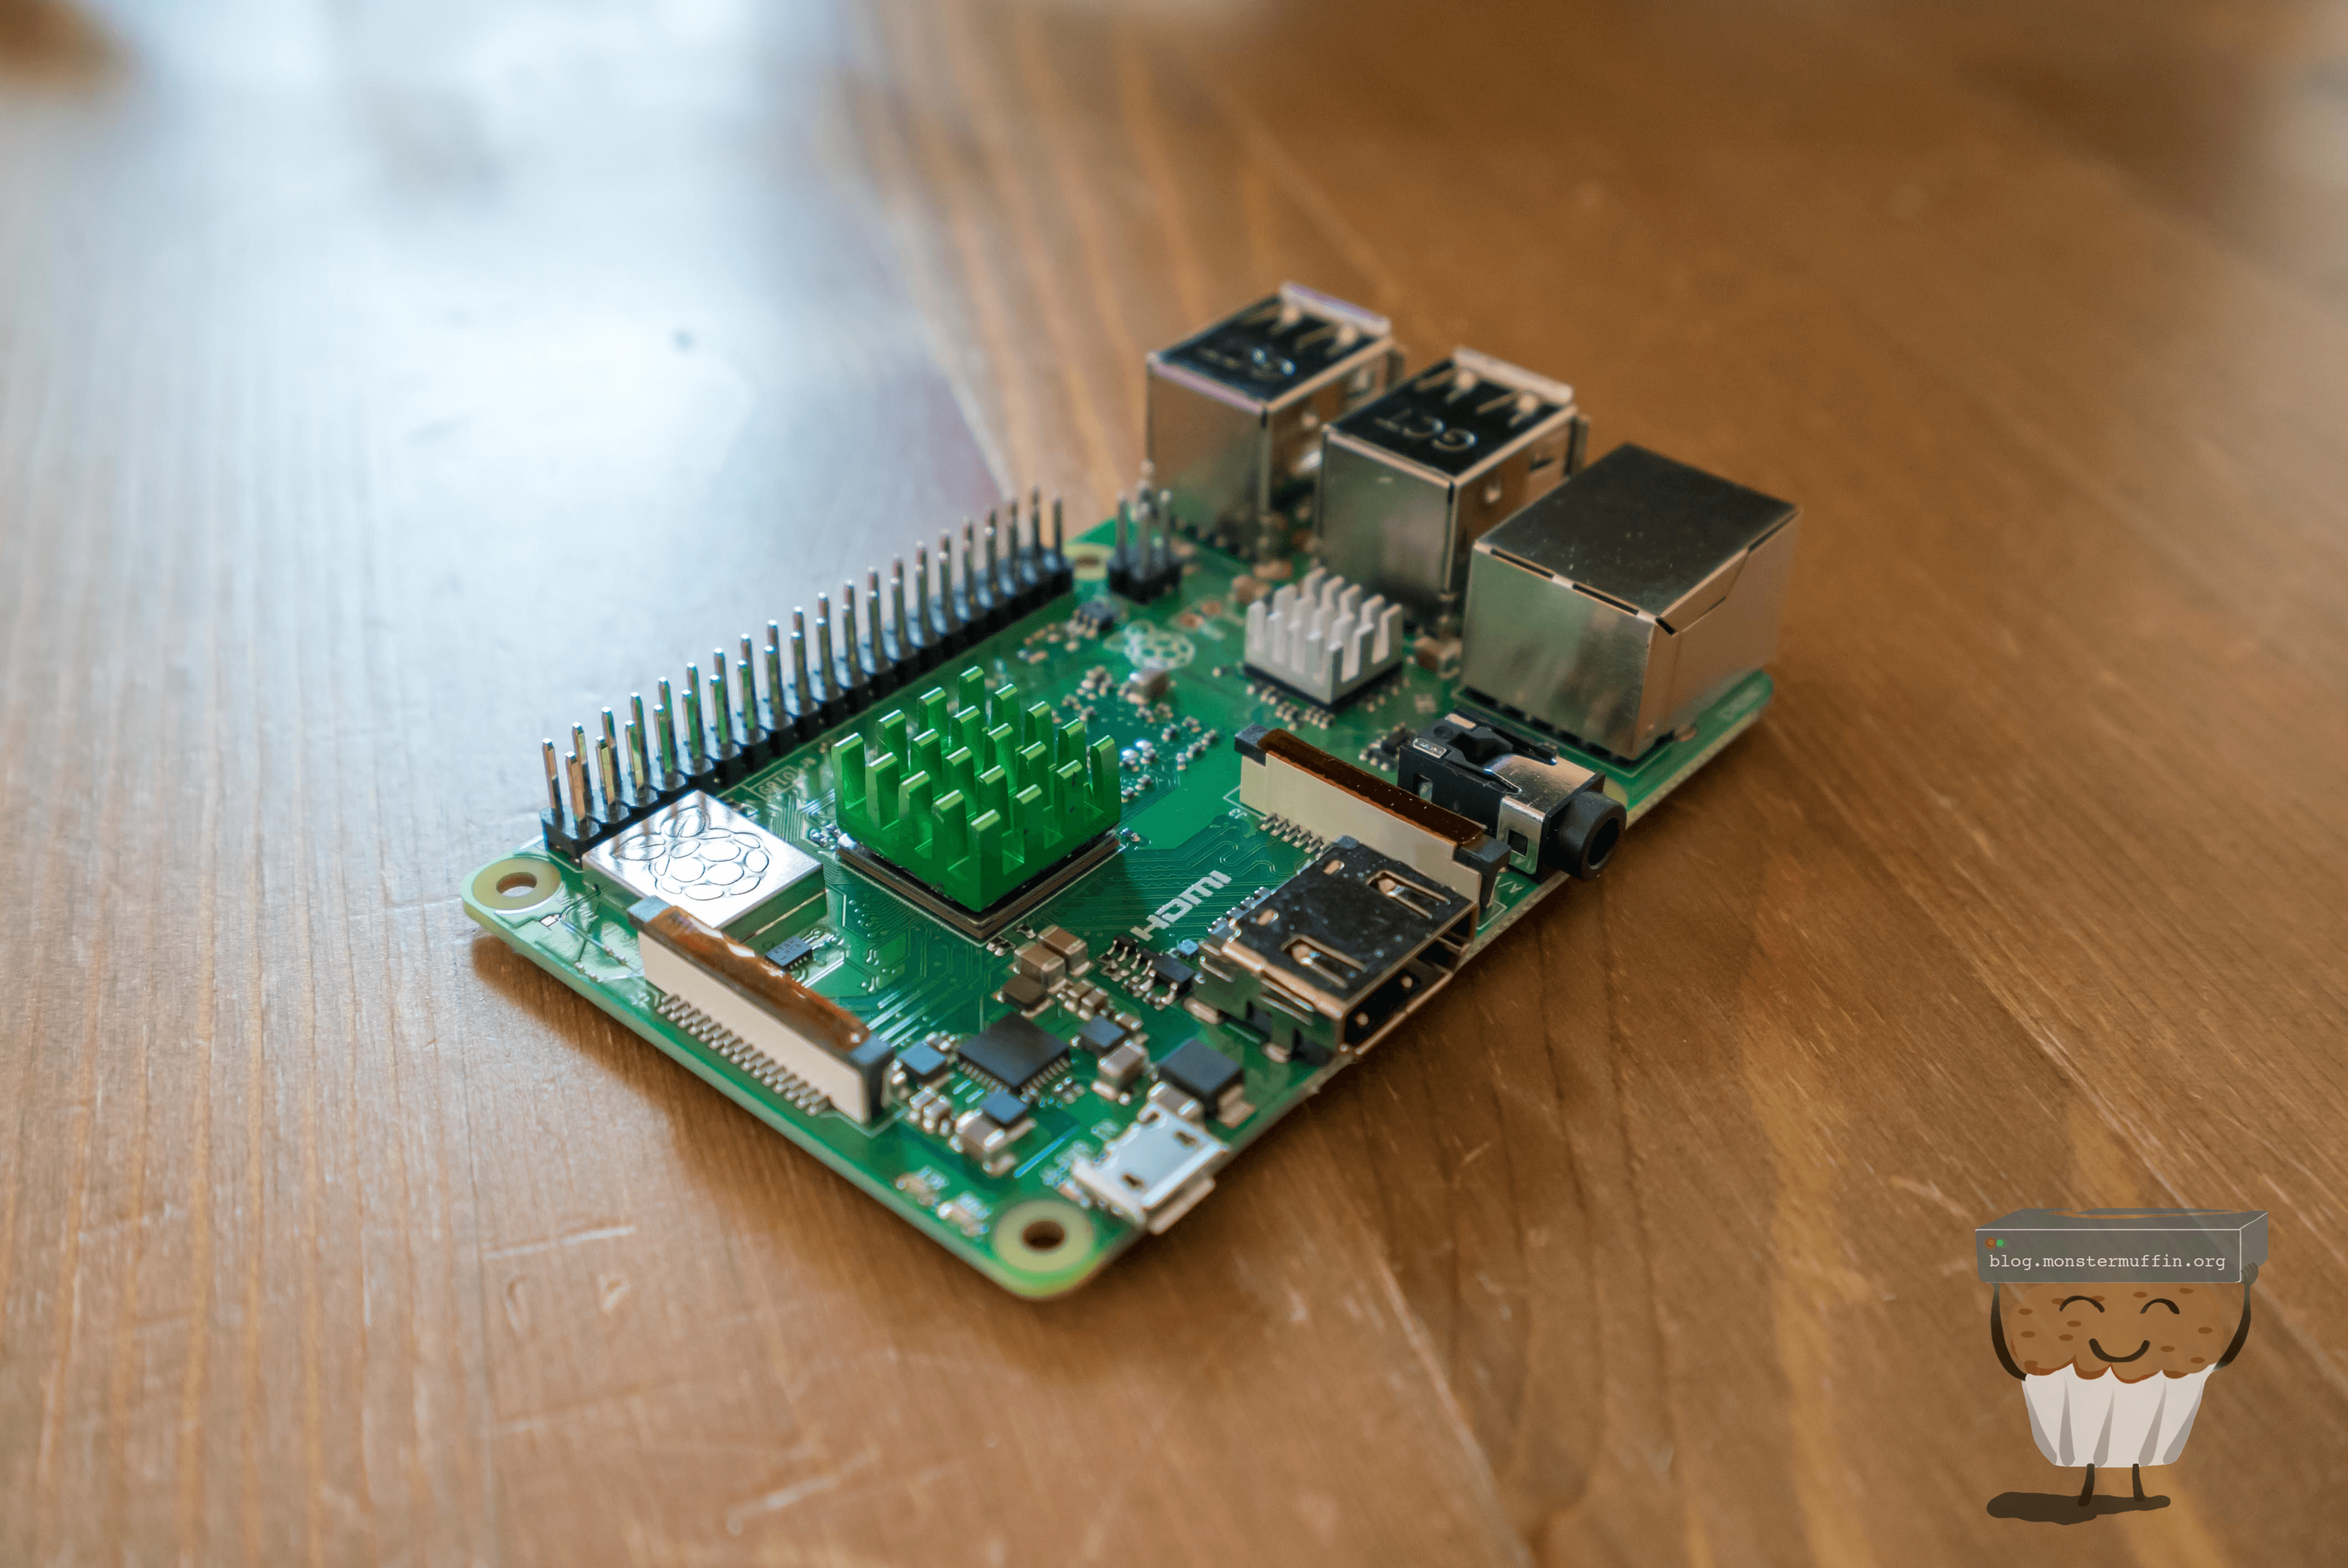
Heatsinks - Not necessary at all, but as you’ll see below certainly helps dissipate some heat. Some kits come with some, I got my own.
Misc Accessories #
Get ye’ cables - Depending on your screen you may need to get a certain cable to connect the Pi up. The screen I’m using does not have HDMI but does have DVI-D, so I bought a short HDMI > DVI-D cable.
Velcro - Just buy some. It’s very useful.
Velcro cable ties - As above, just fuckin do it lad.
And that’s all you’ll need folks! I pretty much got this all from Amazon so if you have Amazon in your region, that’s probably the best place to get it all.
Setting Up the Pi #
So, first things first, nab yourself a copy of Raspbian and then extract it so you have the img file. Use your favourite image writer to write the image over to your micro SD. I use a Macbook so I use Etcher. Looks like etcher is available for Windows too! So just use that if you’re not sure. Link here.
Once that’s done we will do some pre req’s so that we can just SSH straight in without faffing around with a keyboard. Mount the SD to your machine and do the following:
Set monitor rotation: So I’m using my monitor in vertical as, IMO, that’s how dashboards should be. So to tell the Pi this we do the following: Go to the /boot/ directory, find config.txt and open in a text editor. Add one of the following lines to the bottom and save:
display_rotate=1
display_rotate=2
display_rotate=3
So, we’re primarily interested in 1 and 3. 1 is 90 degrees rotation, 3 is 270. For the Dell I’m using, I had to use 3. If you don’t know which one to set, set one and you can change it later via:
sudo nano /boot/config.txt
I think if you’re rotating your screen right, you’ll want 90 degrees if you have to rotate it left like me, it’s 270.
Set WiFi: So if you’re planning to use WiFi, we should set this up now. Once again, go to /boot/ and create the file wpa_supplicant.conf which should contain the following:
ctrl_interface=DIR=/var/run/wpa_supplicant GROUP=netdev
network={
    ssid="YOUR SSID HERE"
    psk="YOUR WIFI PASSWORD HERE"
    key_mgmt=WPA-PSK
}
Note: Keep the quotations. Your SSID and password must be in quotations as they are strings. This file will be moved to /etc/ at first boot.
Enable SSH: So, finally, we shall enable SSH. In /boot/ and we will create a blank file with no extension with the name ssh. Just ssh, nothing else. If you’re using Winblows you need to ensure that you can see file extensions otherwise it will probably make it a text file or some shit.
Now, slap that microSD into the pi and let’s setup the monitor.
Monitor Setup #
Grab your Pi, case, velcro, cable ties and cables and let’s put this all together. This is pretty much up to you, I’ll show you how I did mine though.
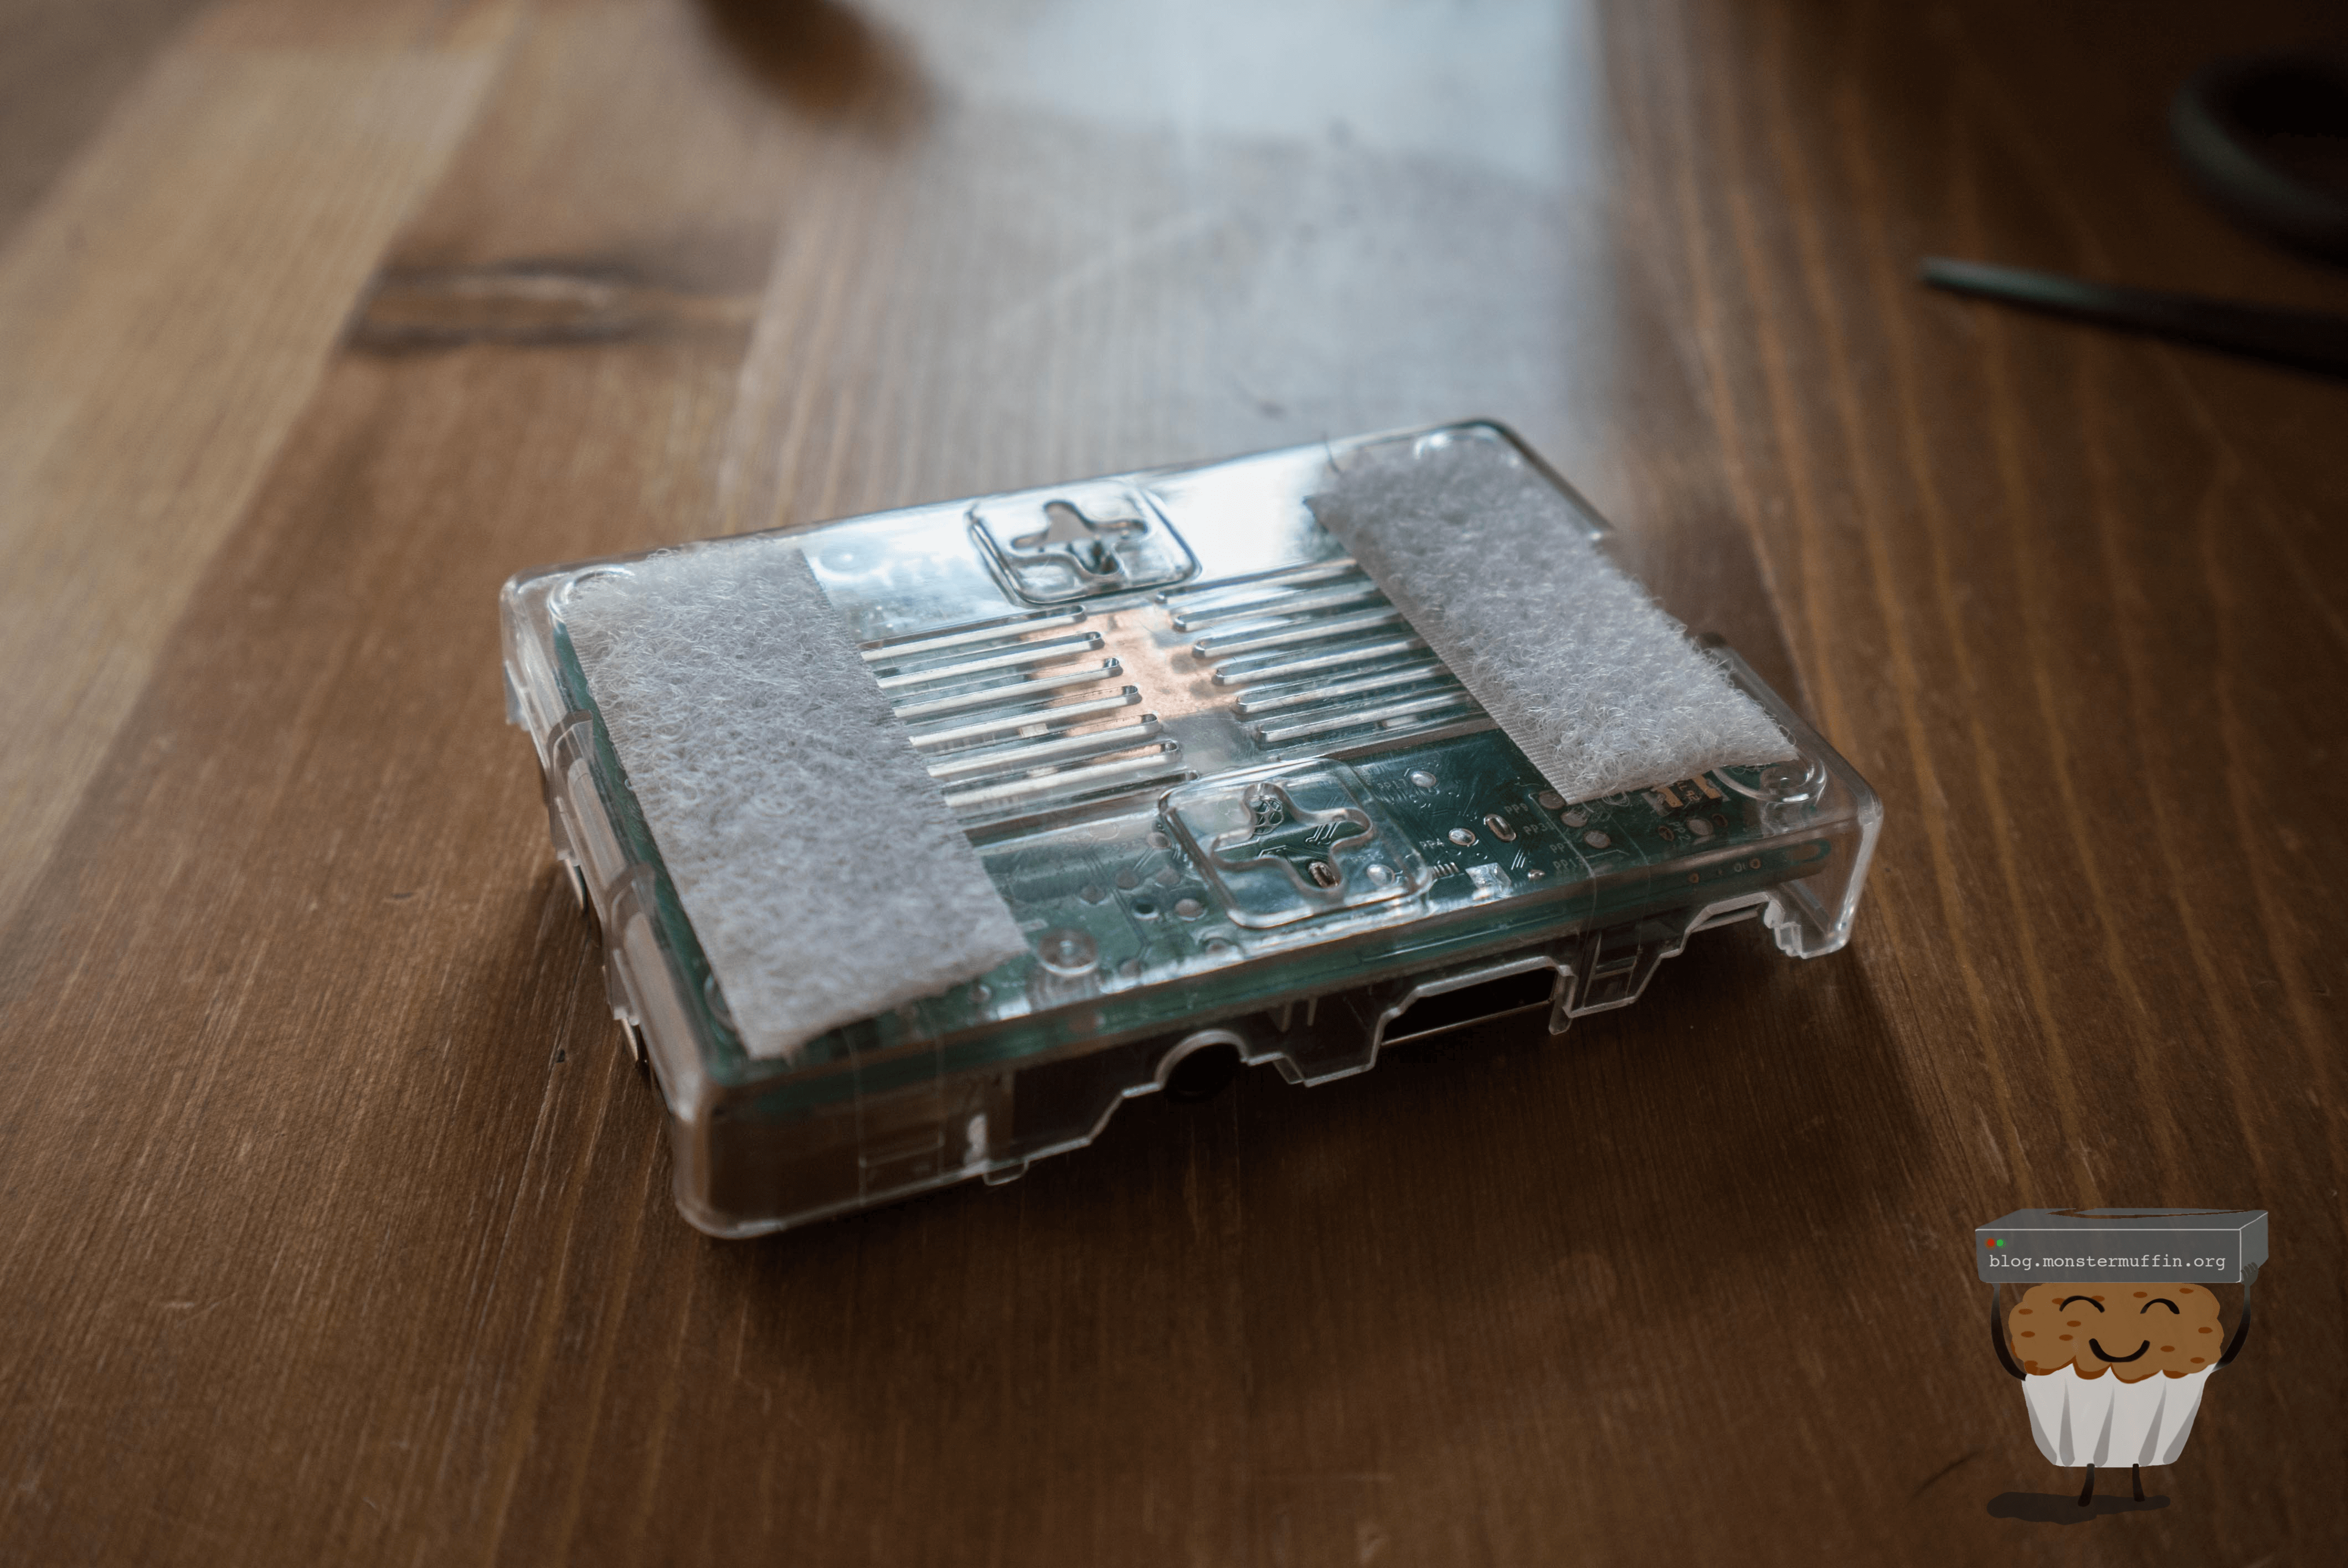
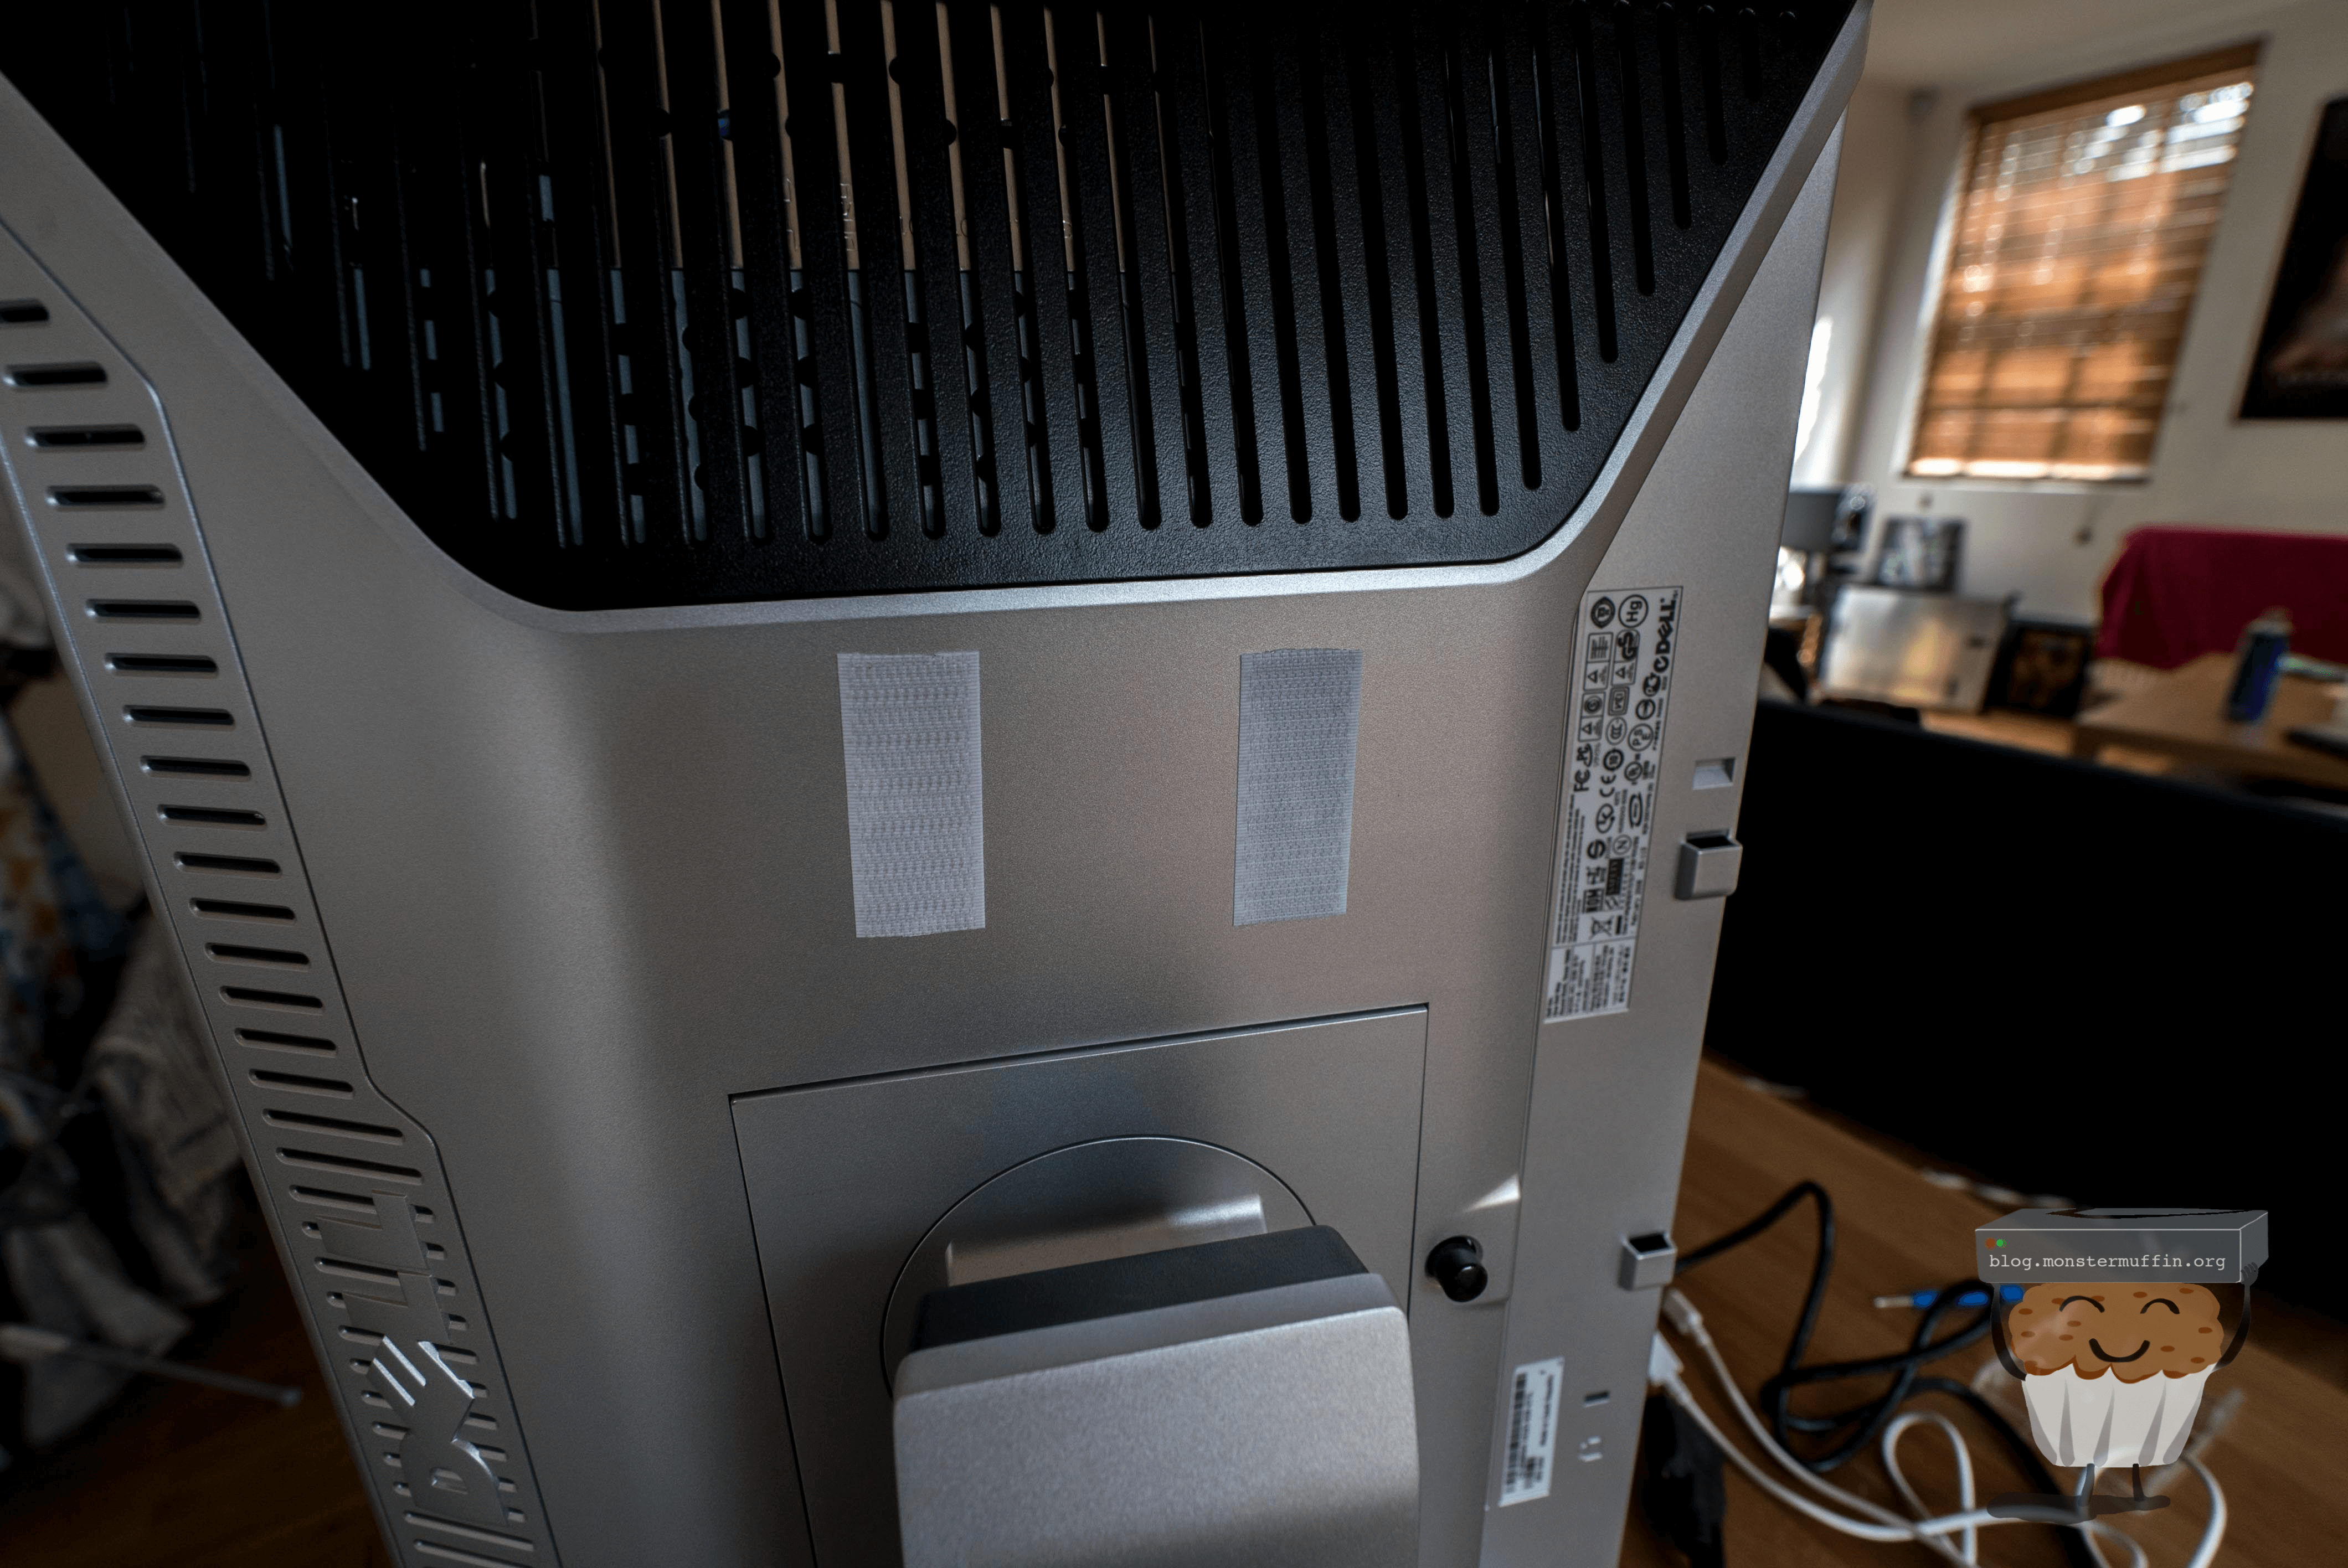
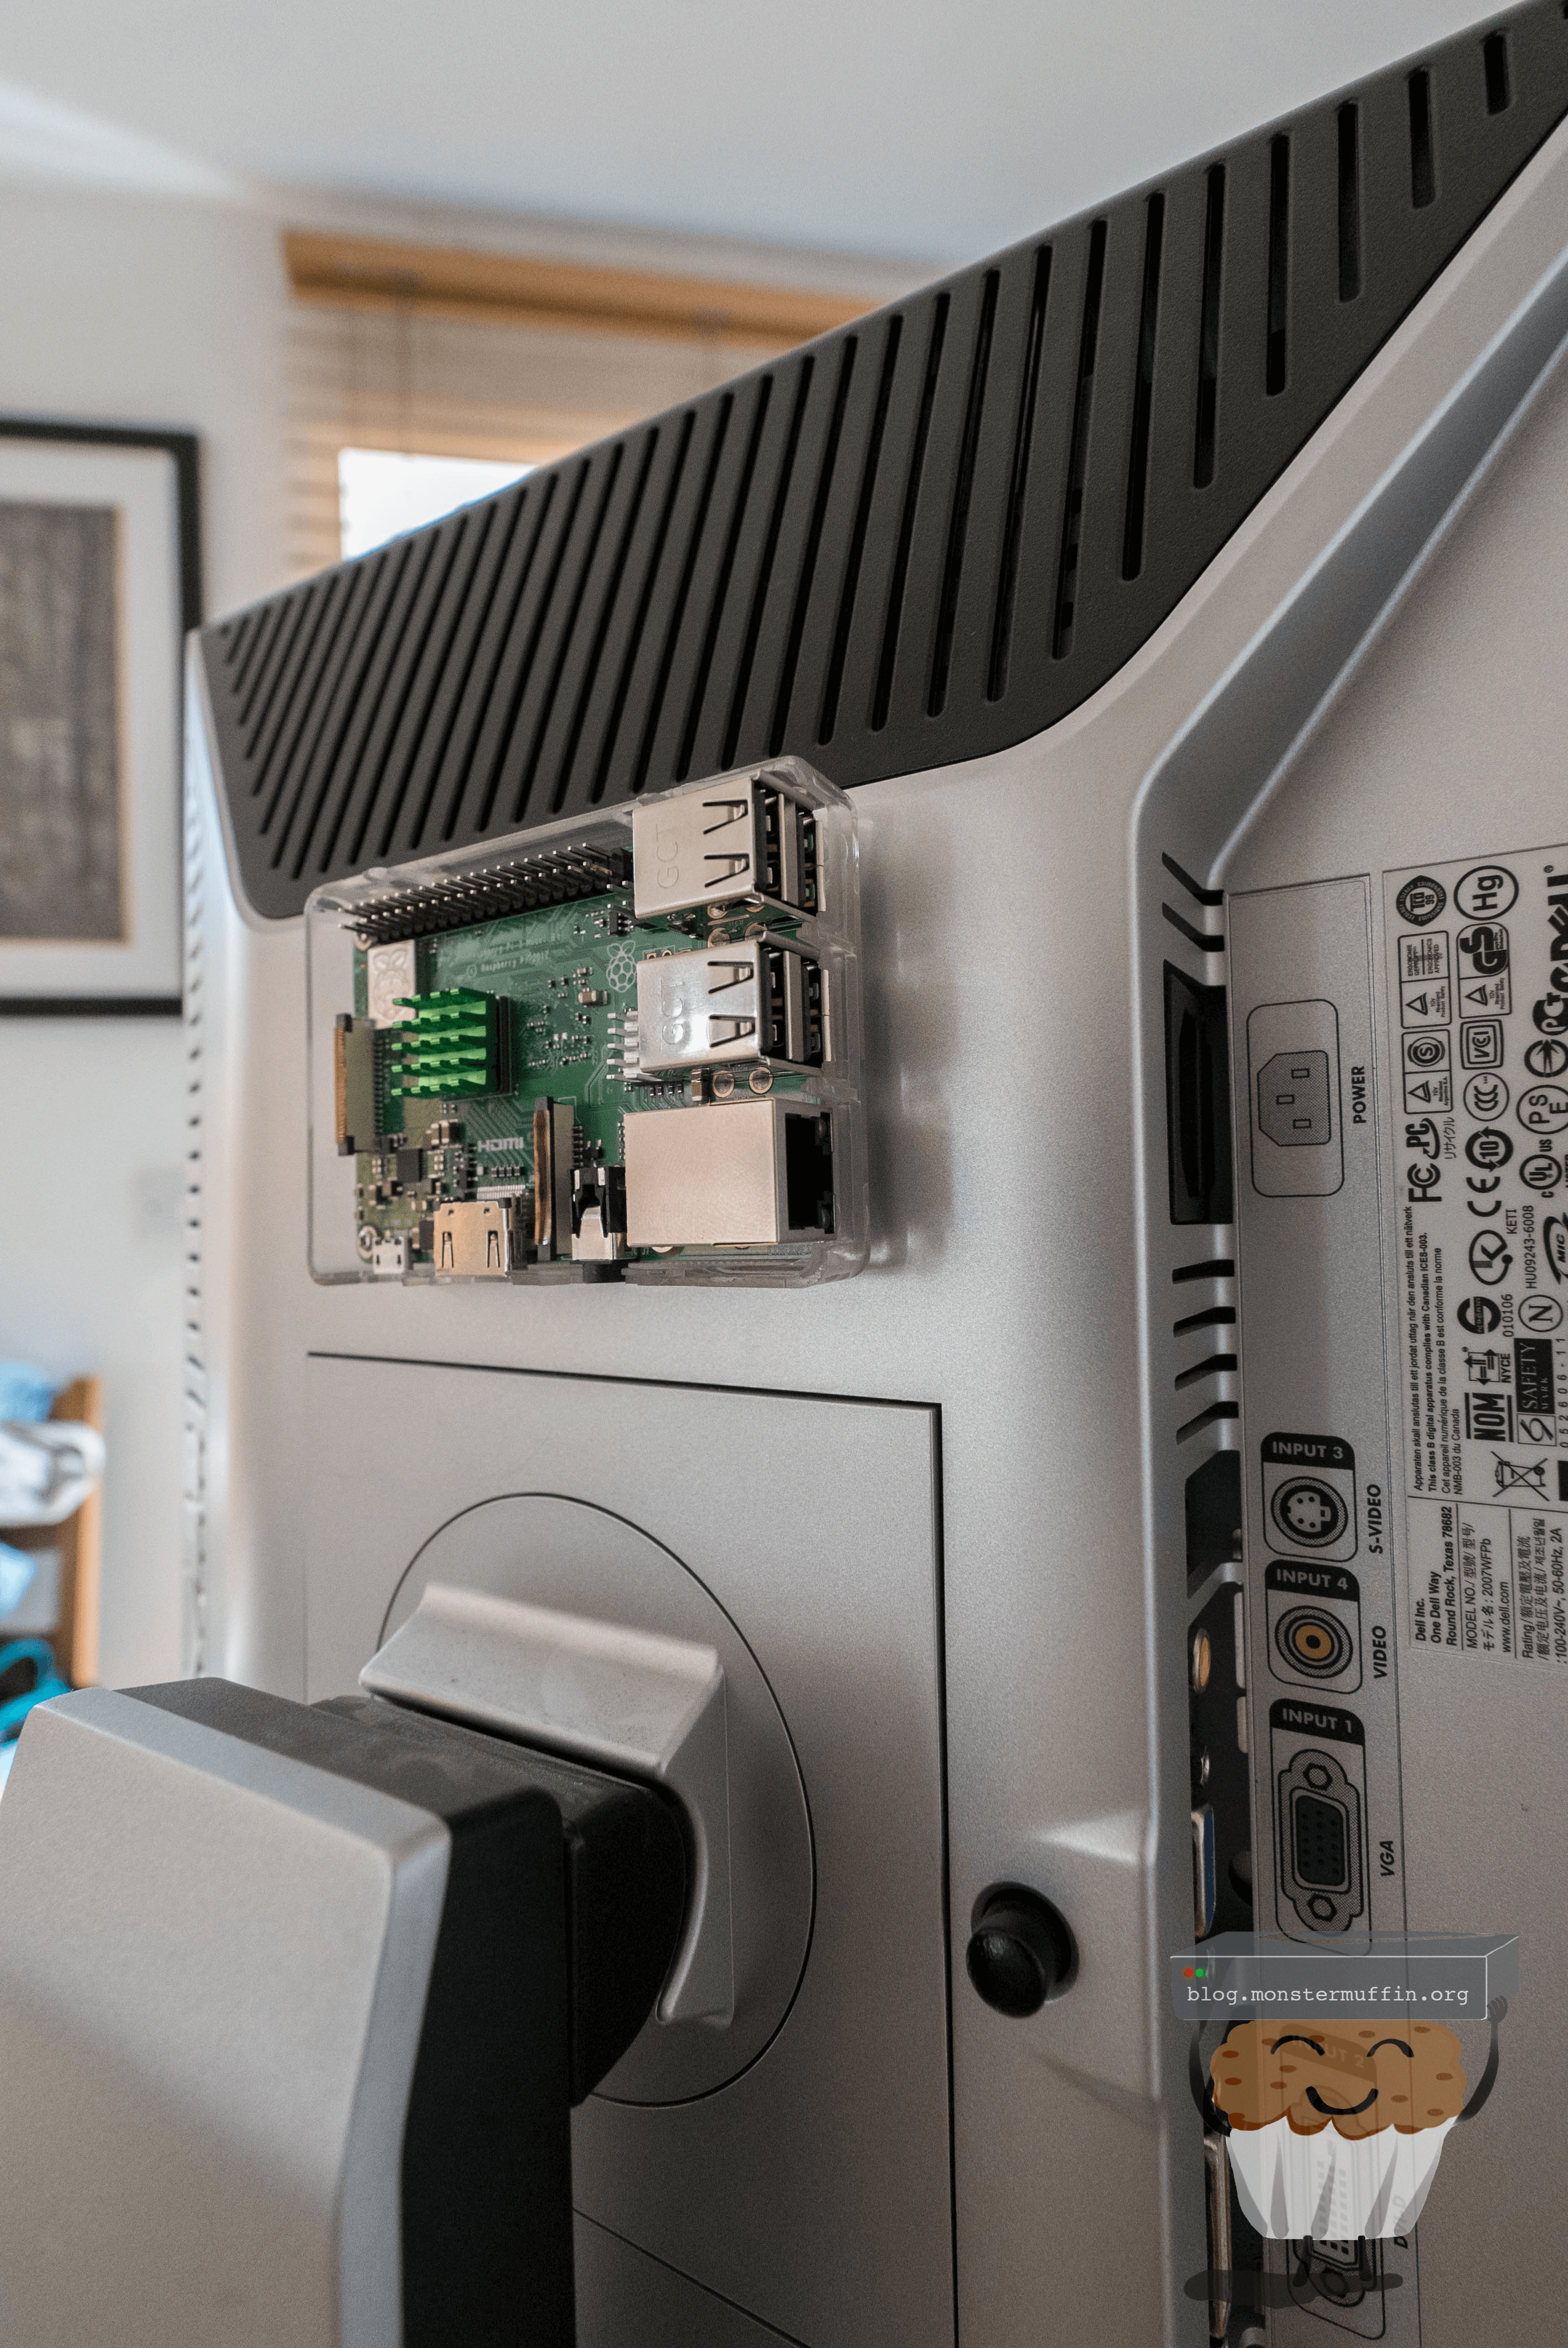
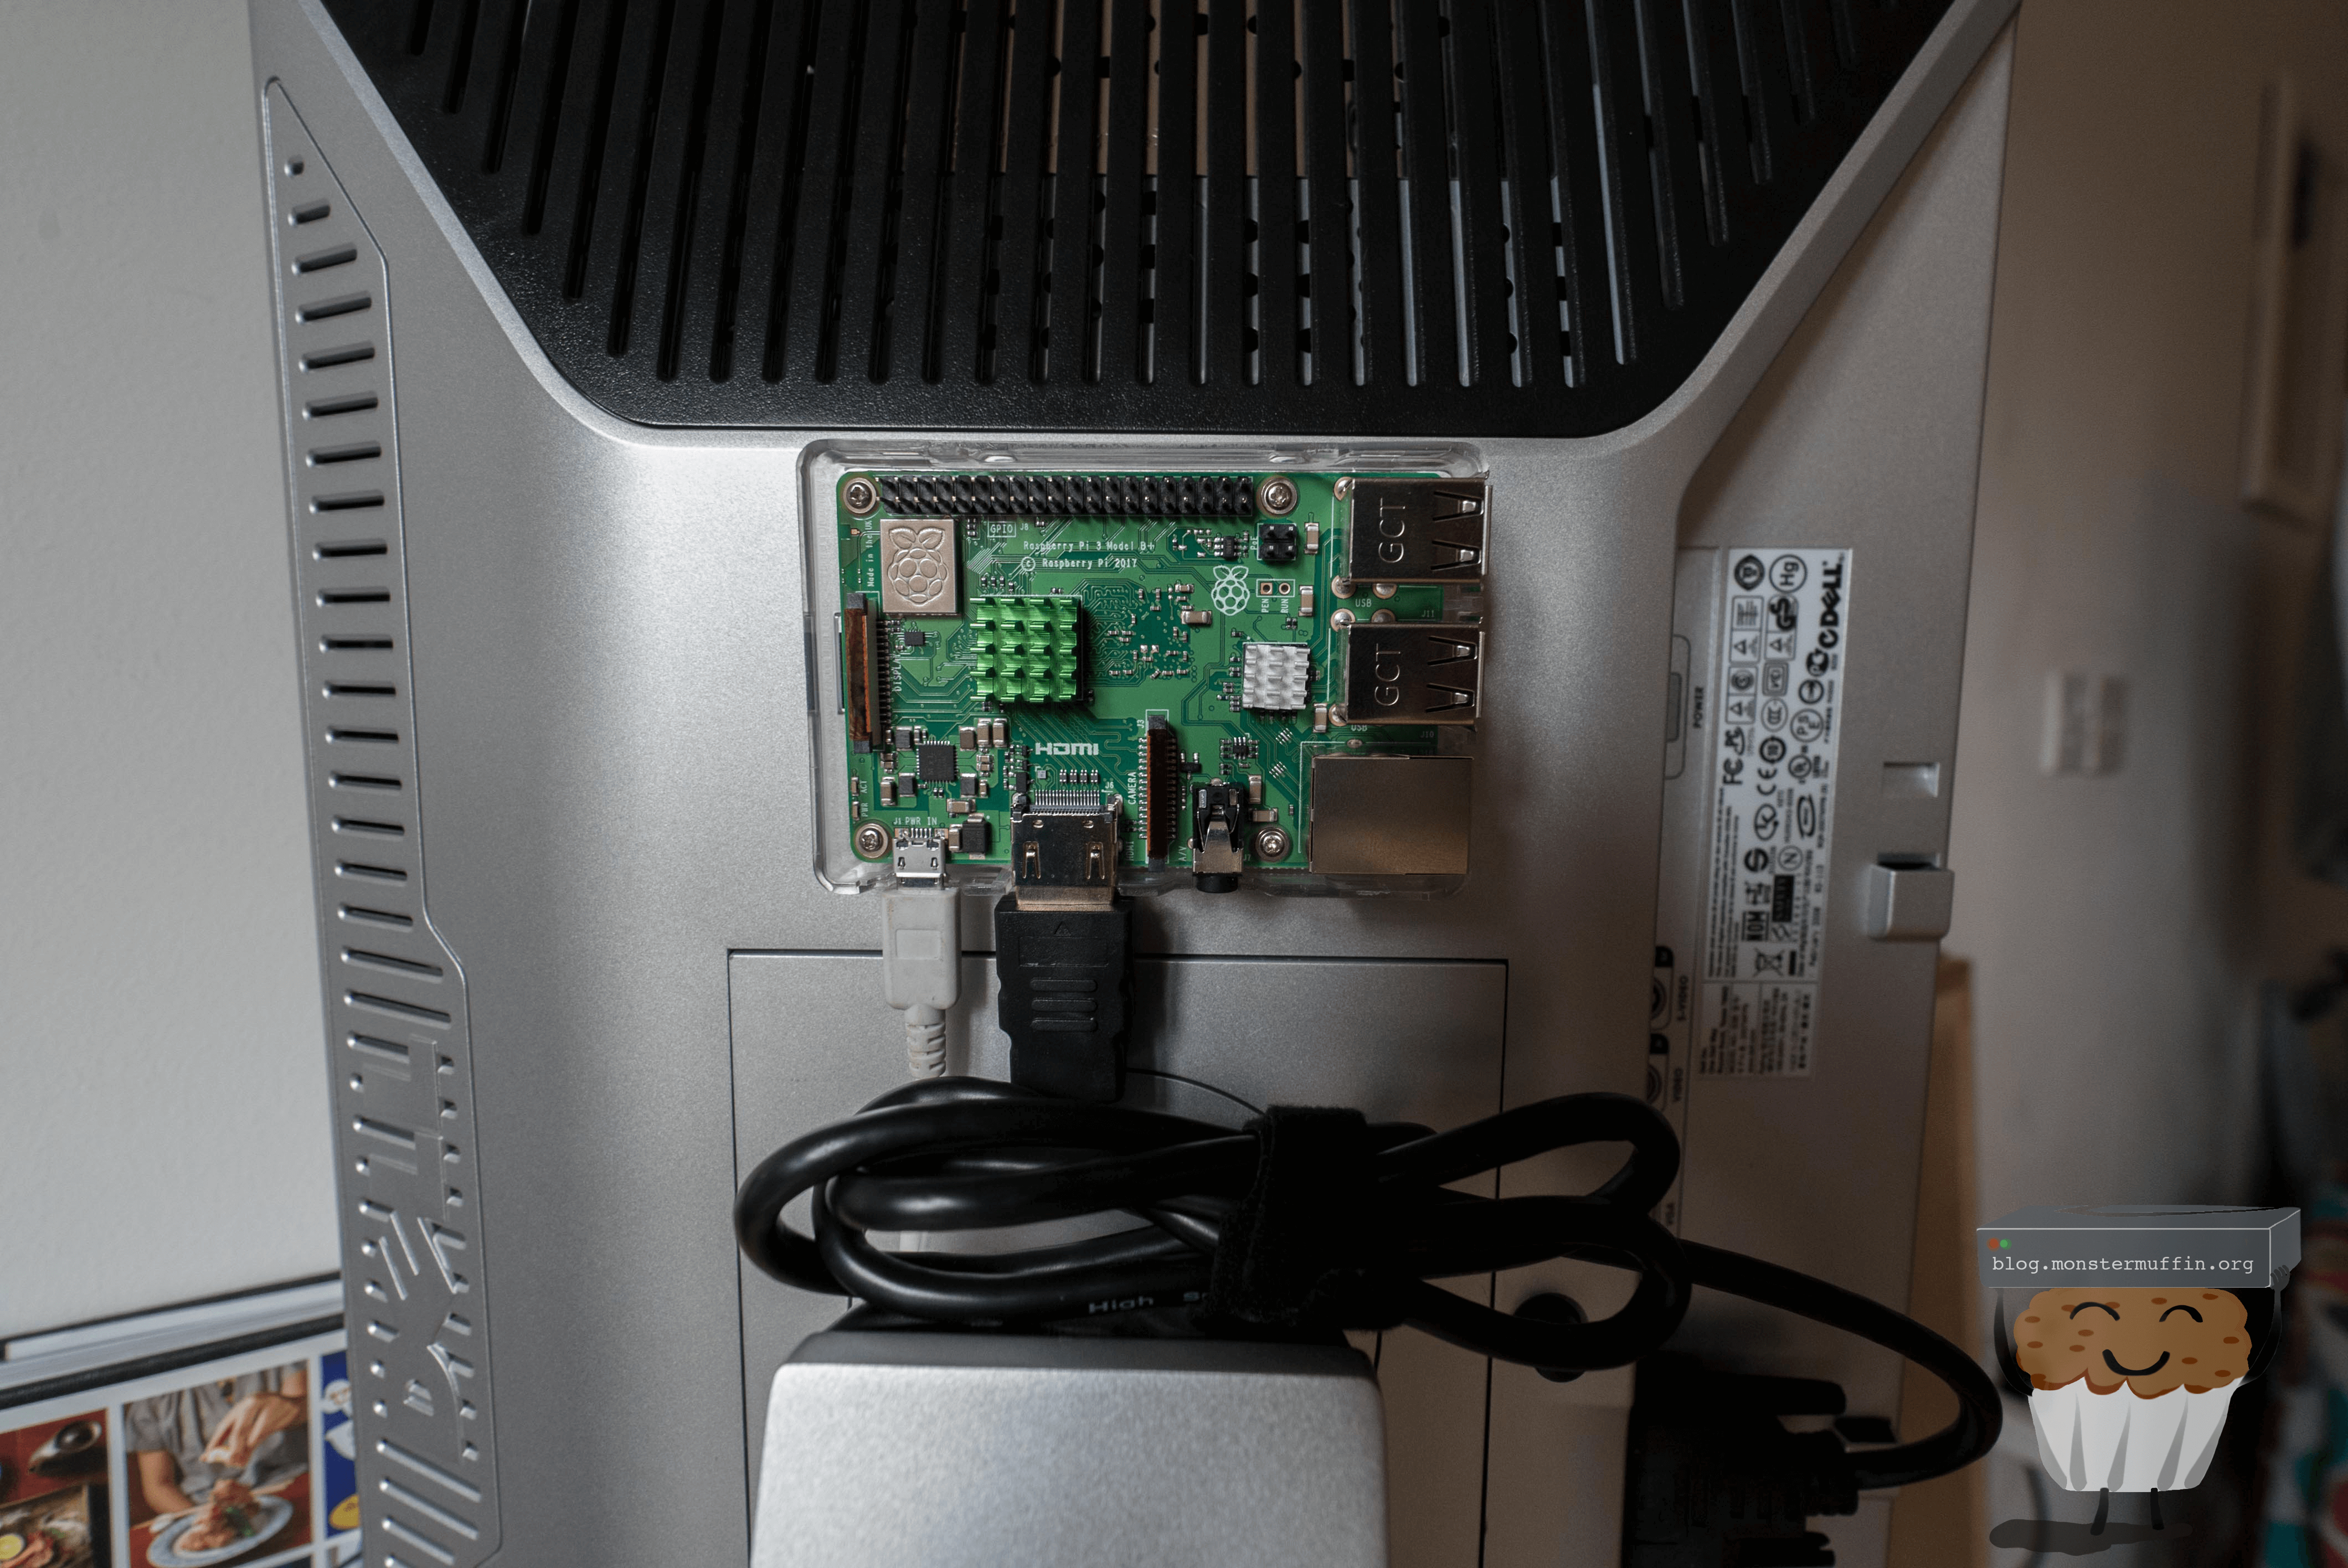
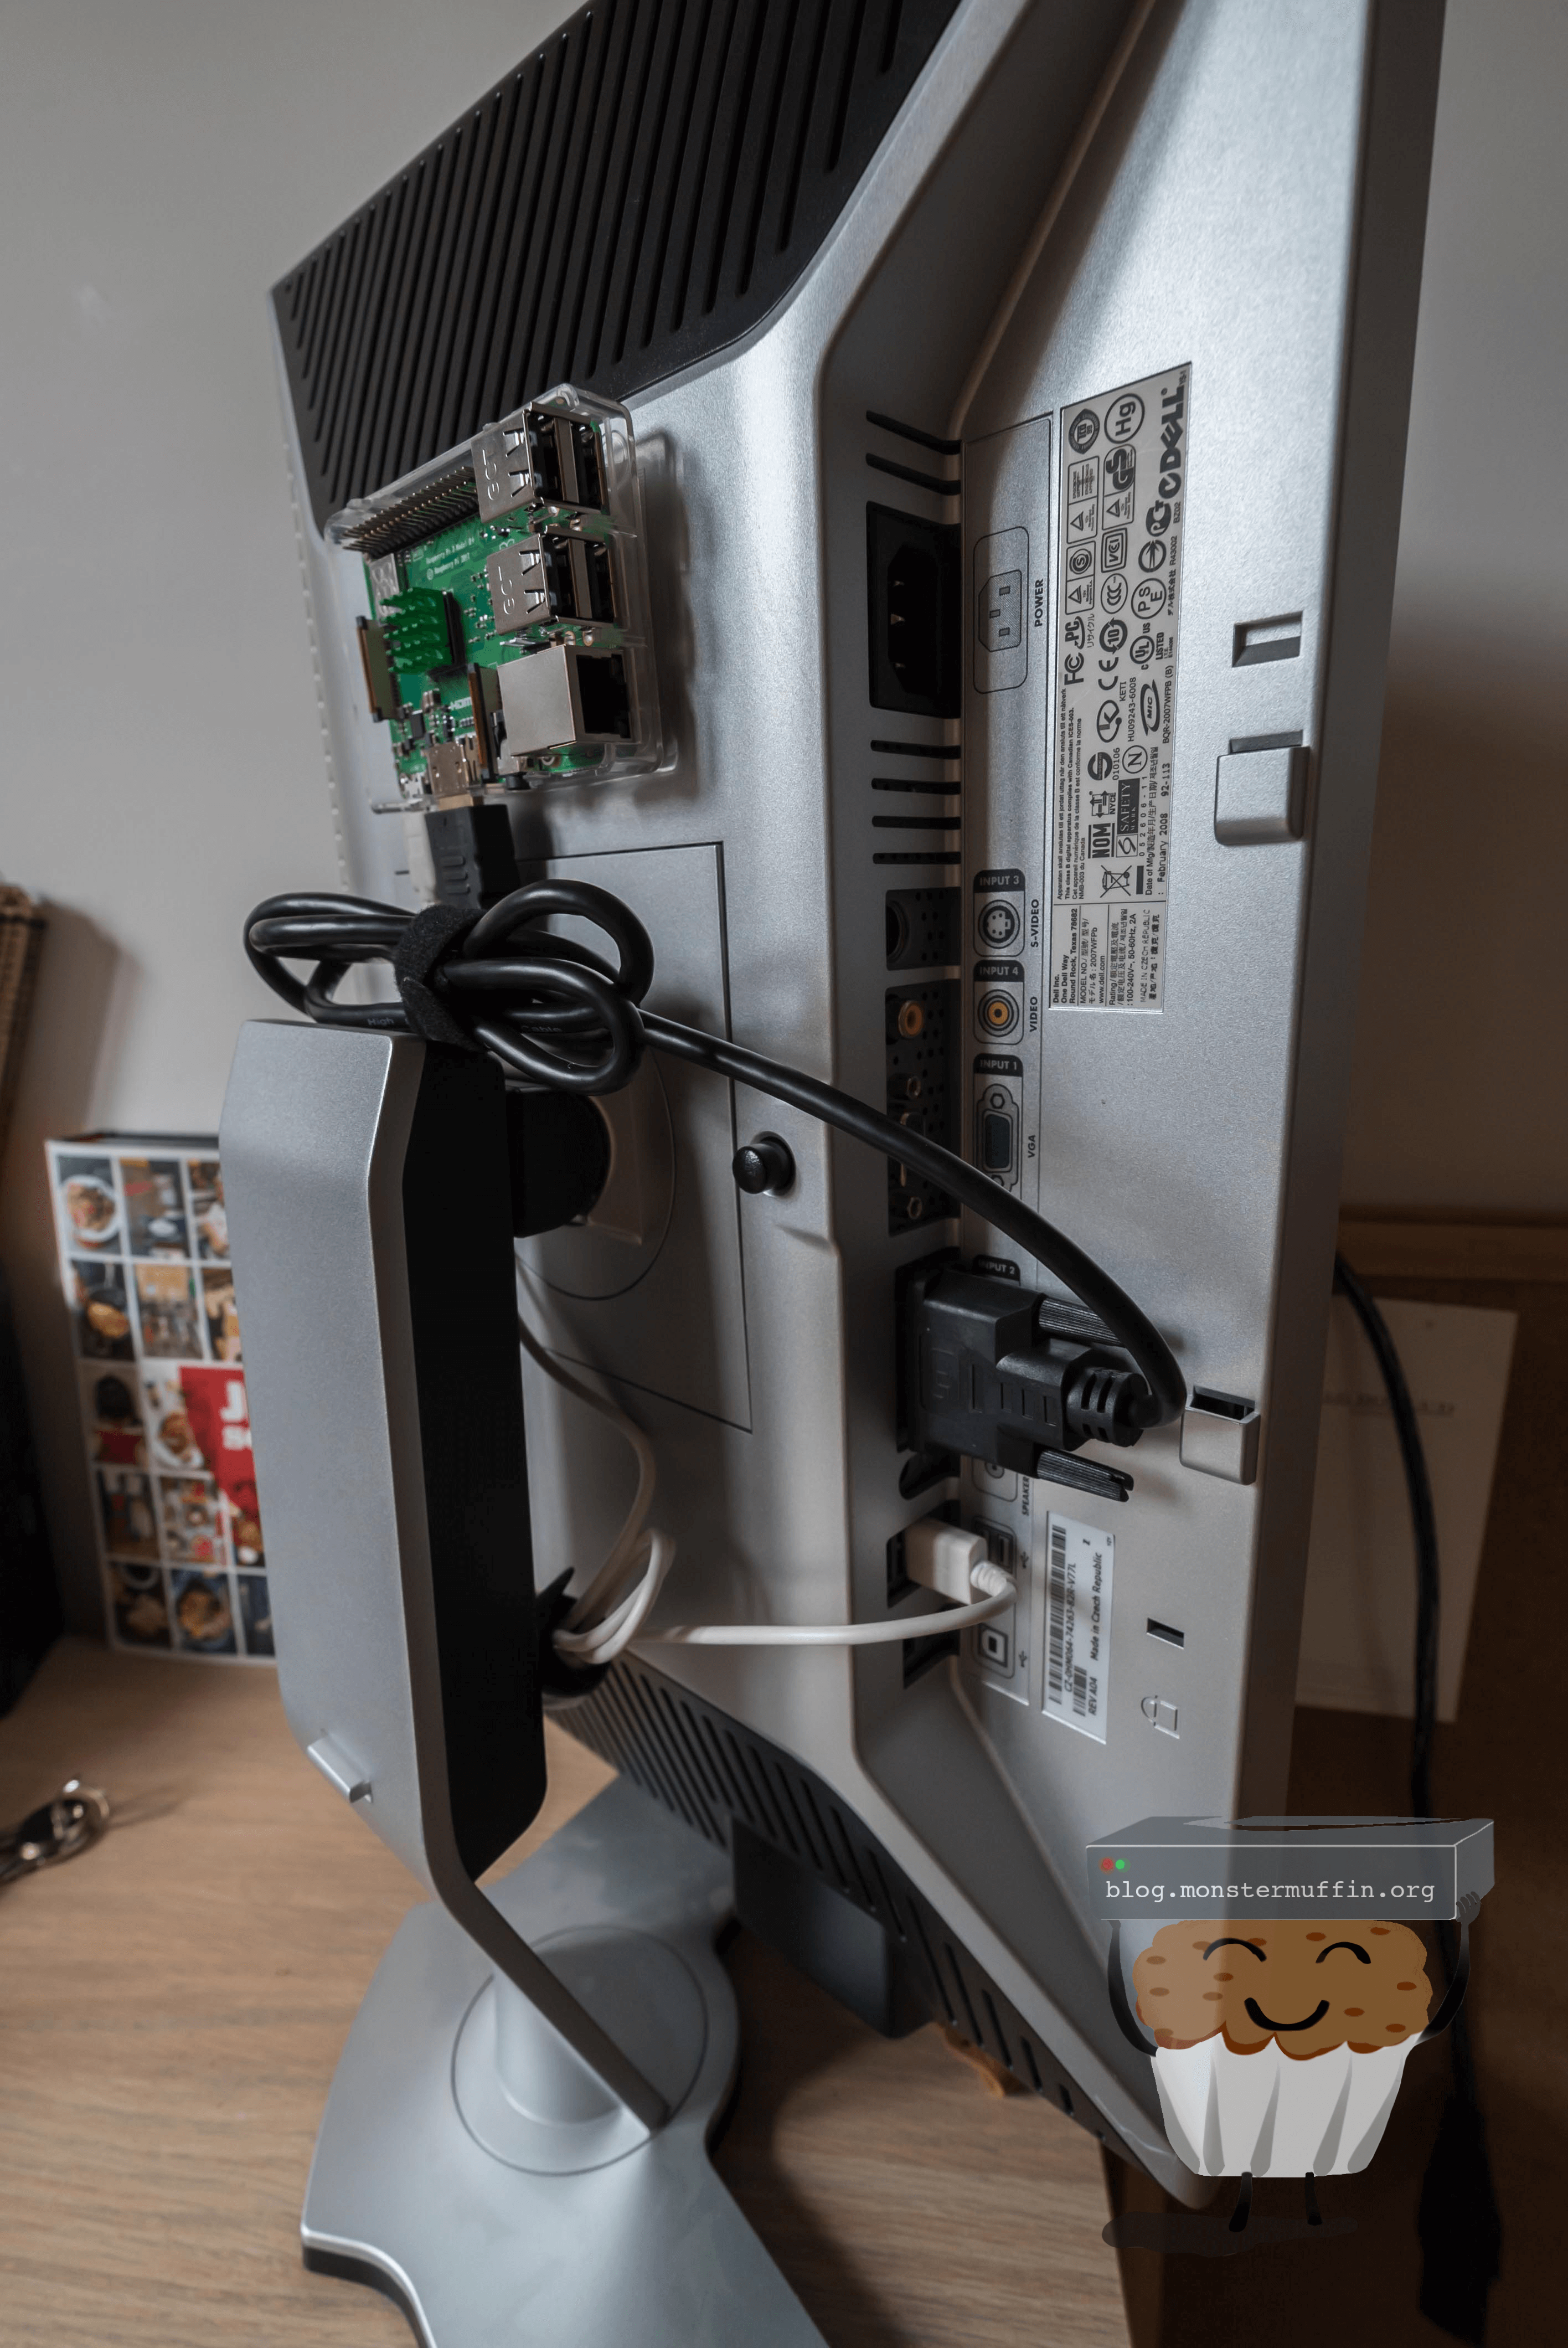
As I explained previously I like to keep the tops off my pi’s, but I put the bottom casing on and put some velcro on this. You can see the heatsinks too.
Run your display cable. I got a 1m one as the 0.5m was more expensive. Can you believe the cunts? Anyway, find out how much cable you need and cable tie the rest and tuck it away.
So, for power, everyone’s setup will differ. I’m being sneaky and stealing power from the monitor itself via its USB ports. I’m primarily doing this for 2 reasons, the cables are neater and I don’t need to run another power and the pi will turn on and off with the monitor.
The monitor is not the greatest power supply for the pi, but for what this is doing it’s perfectly fine.
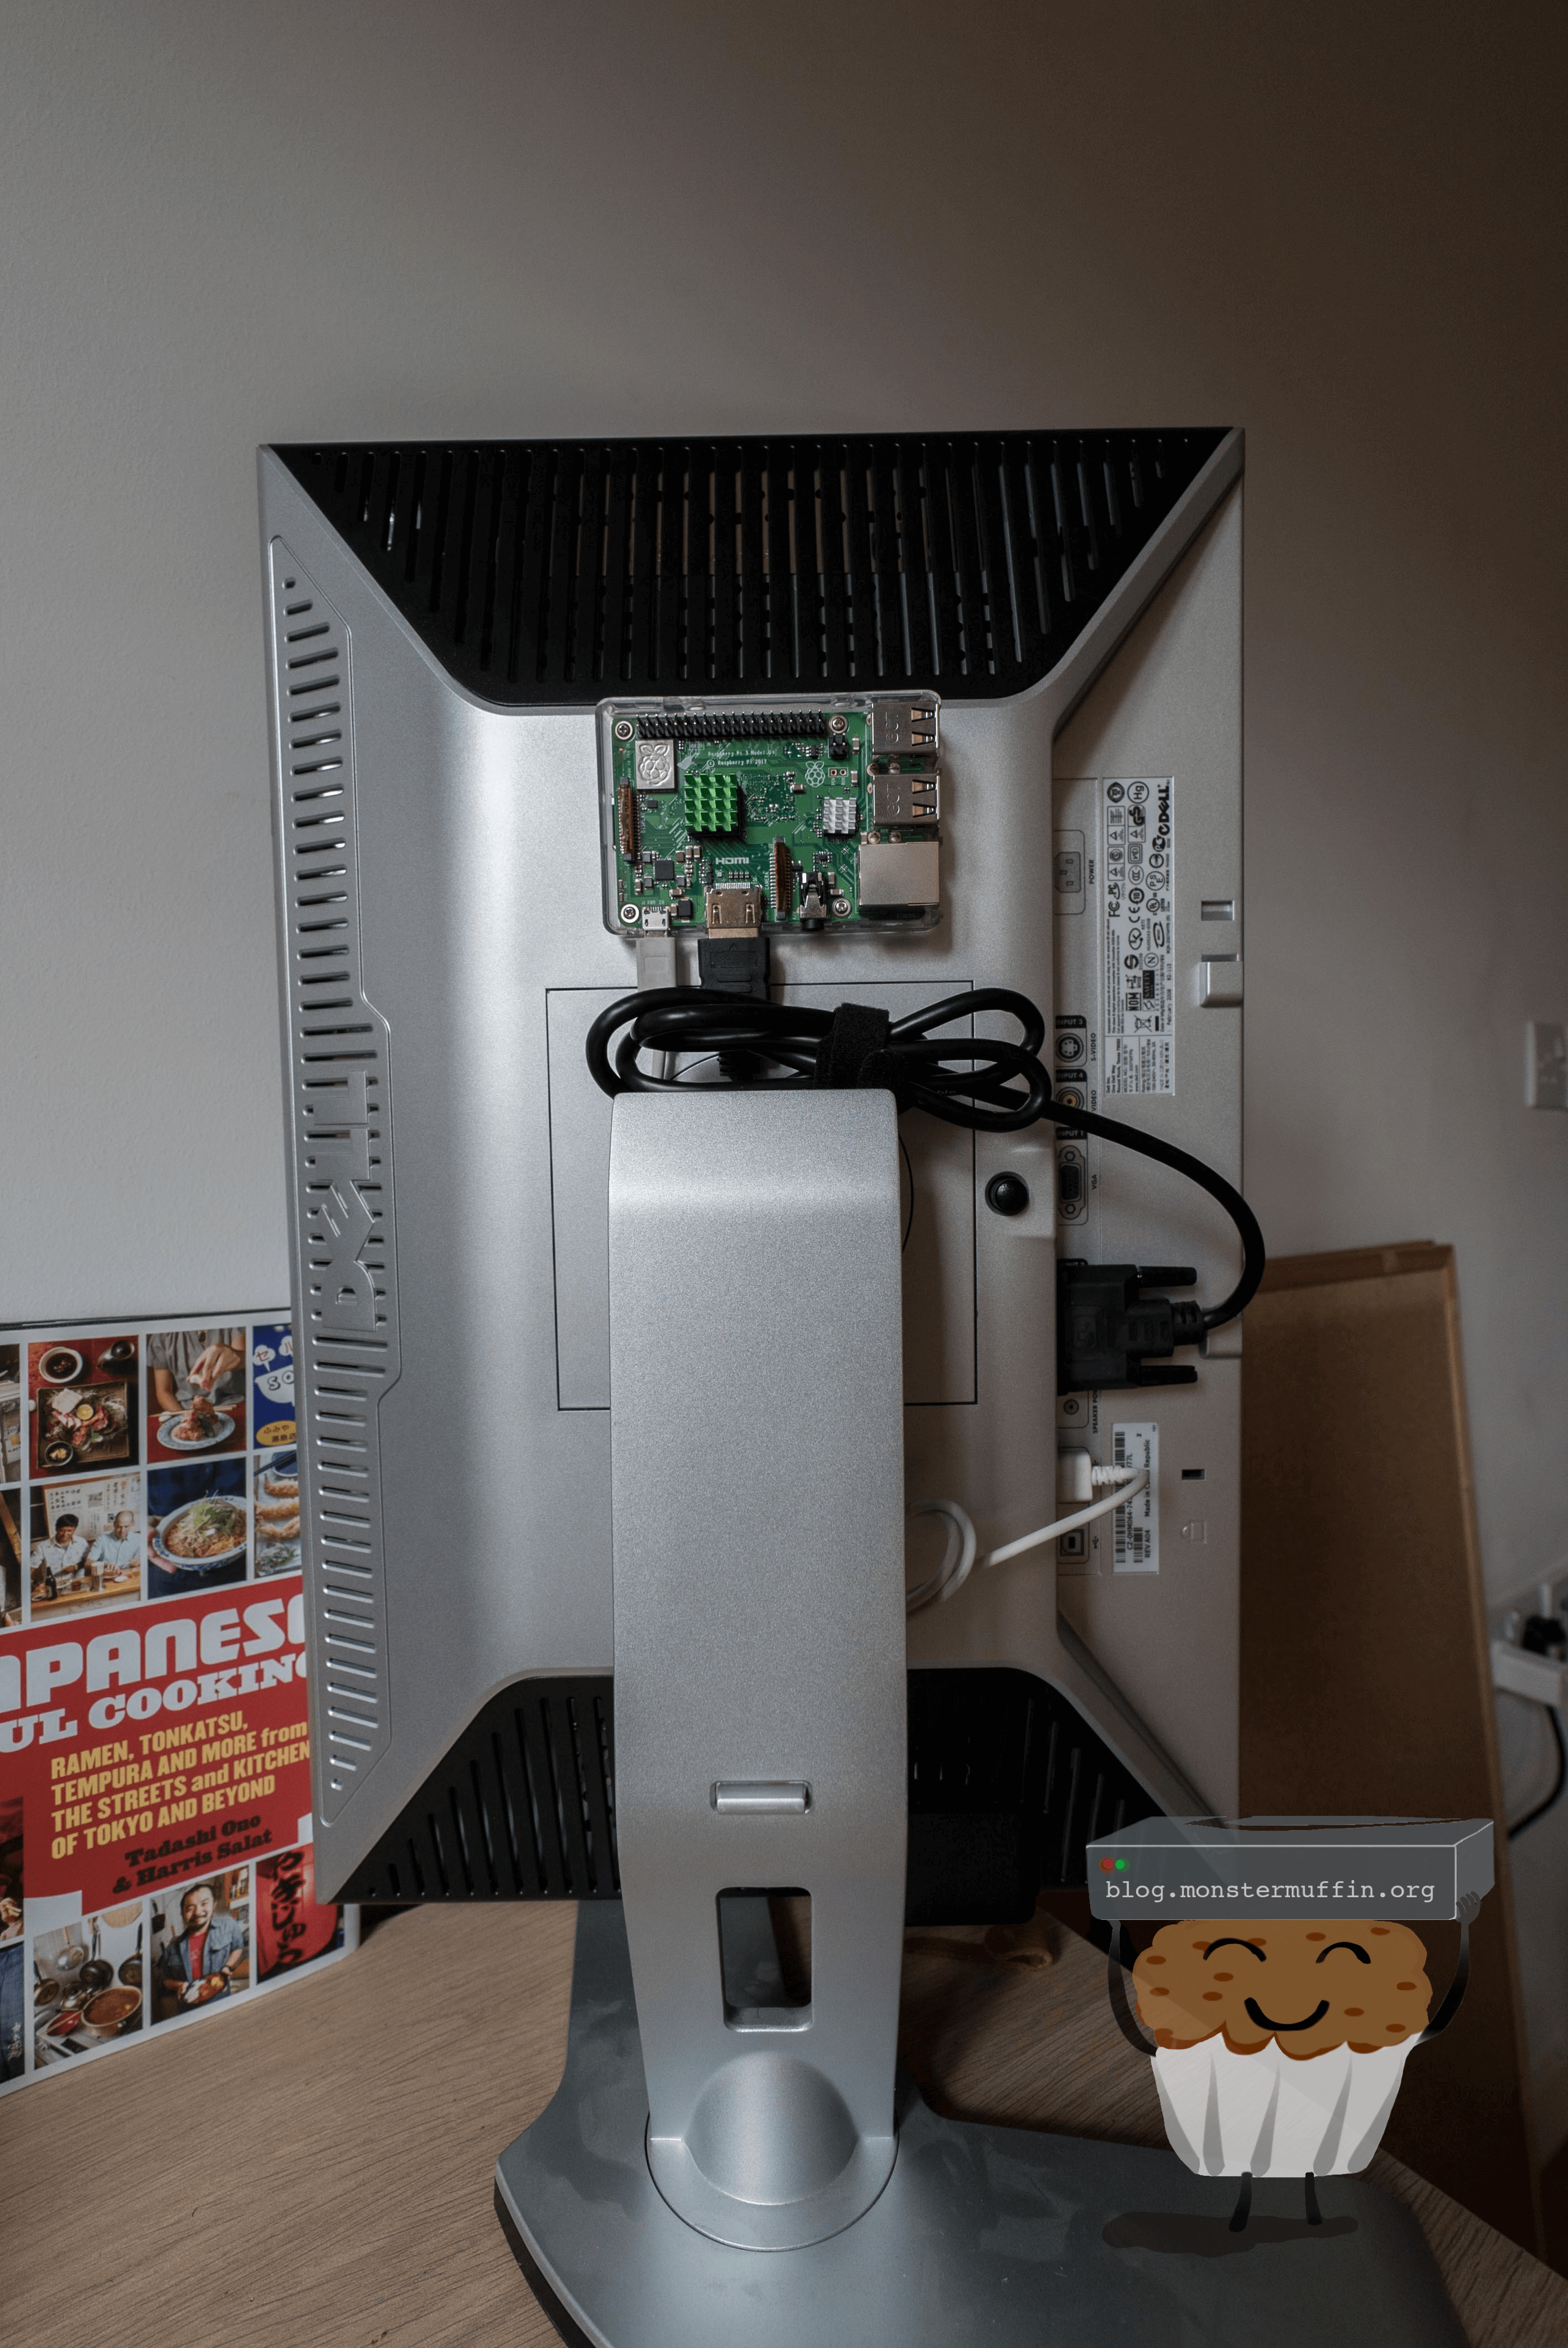
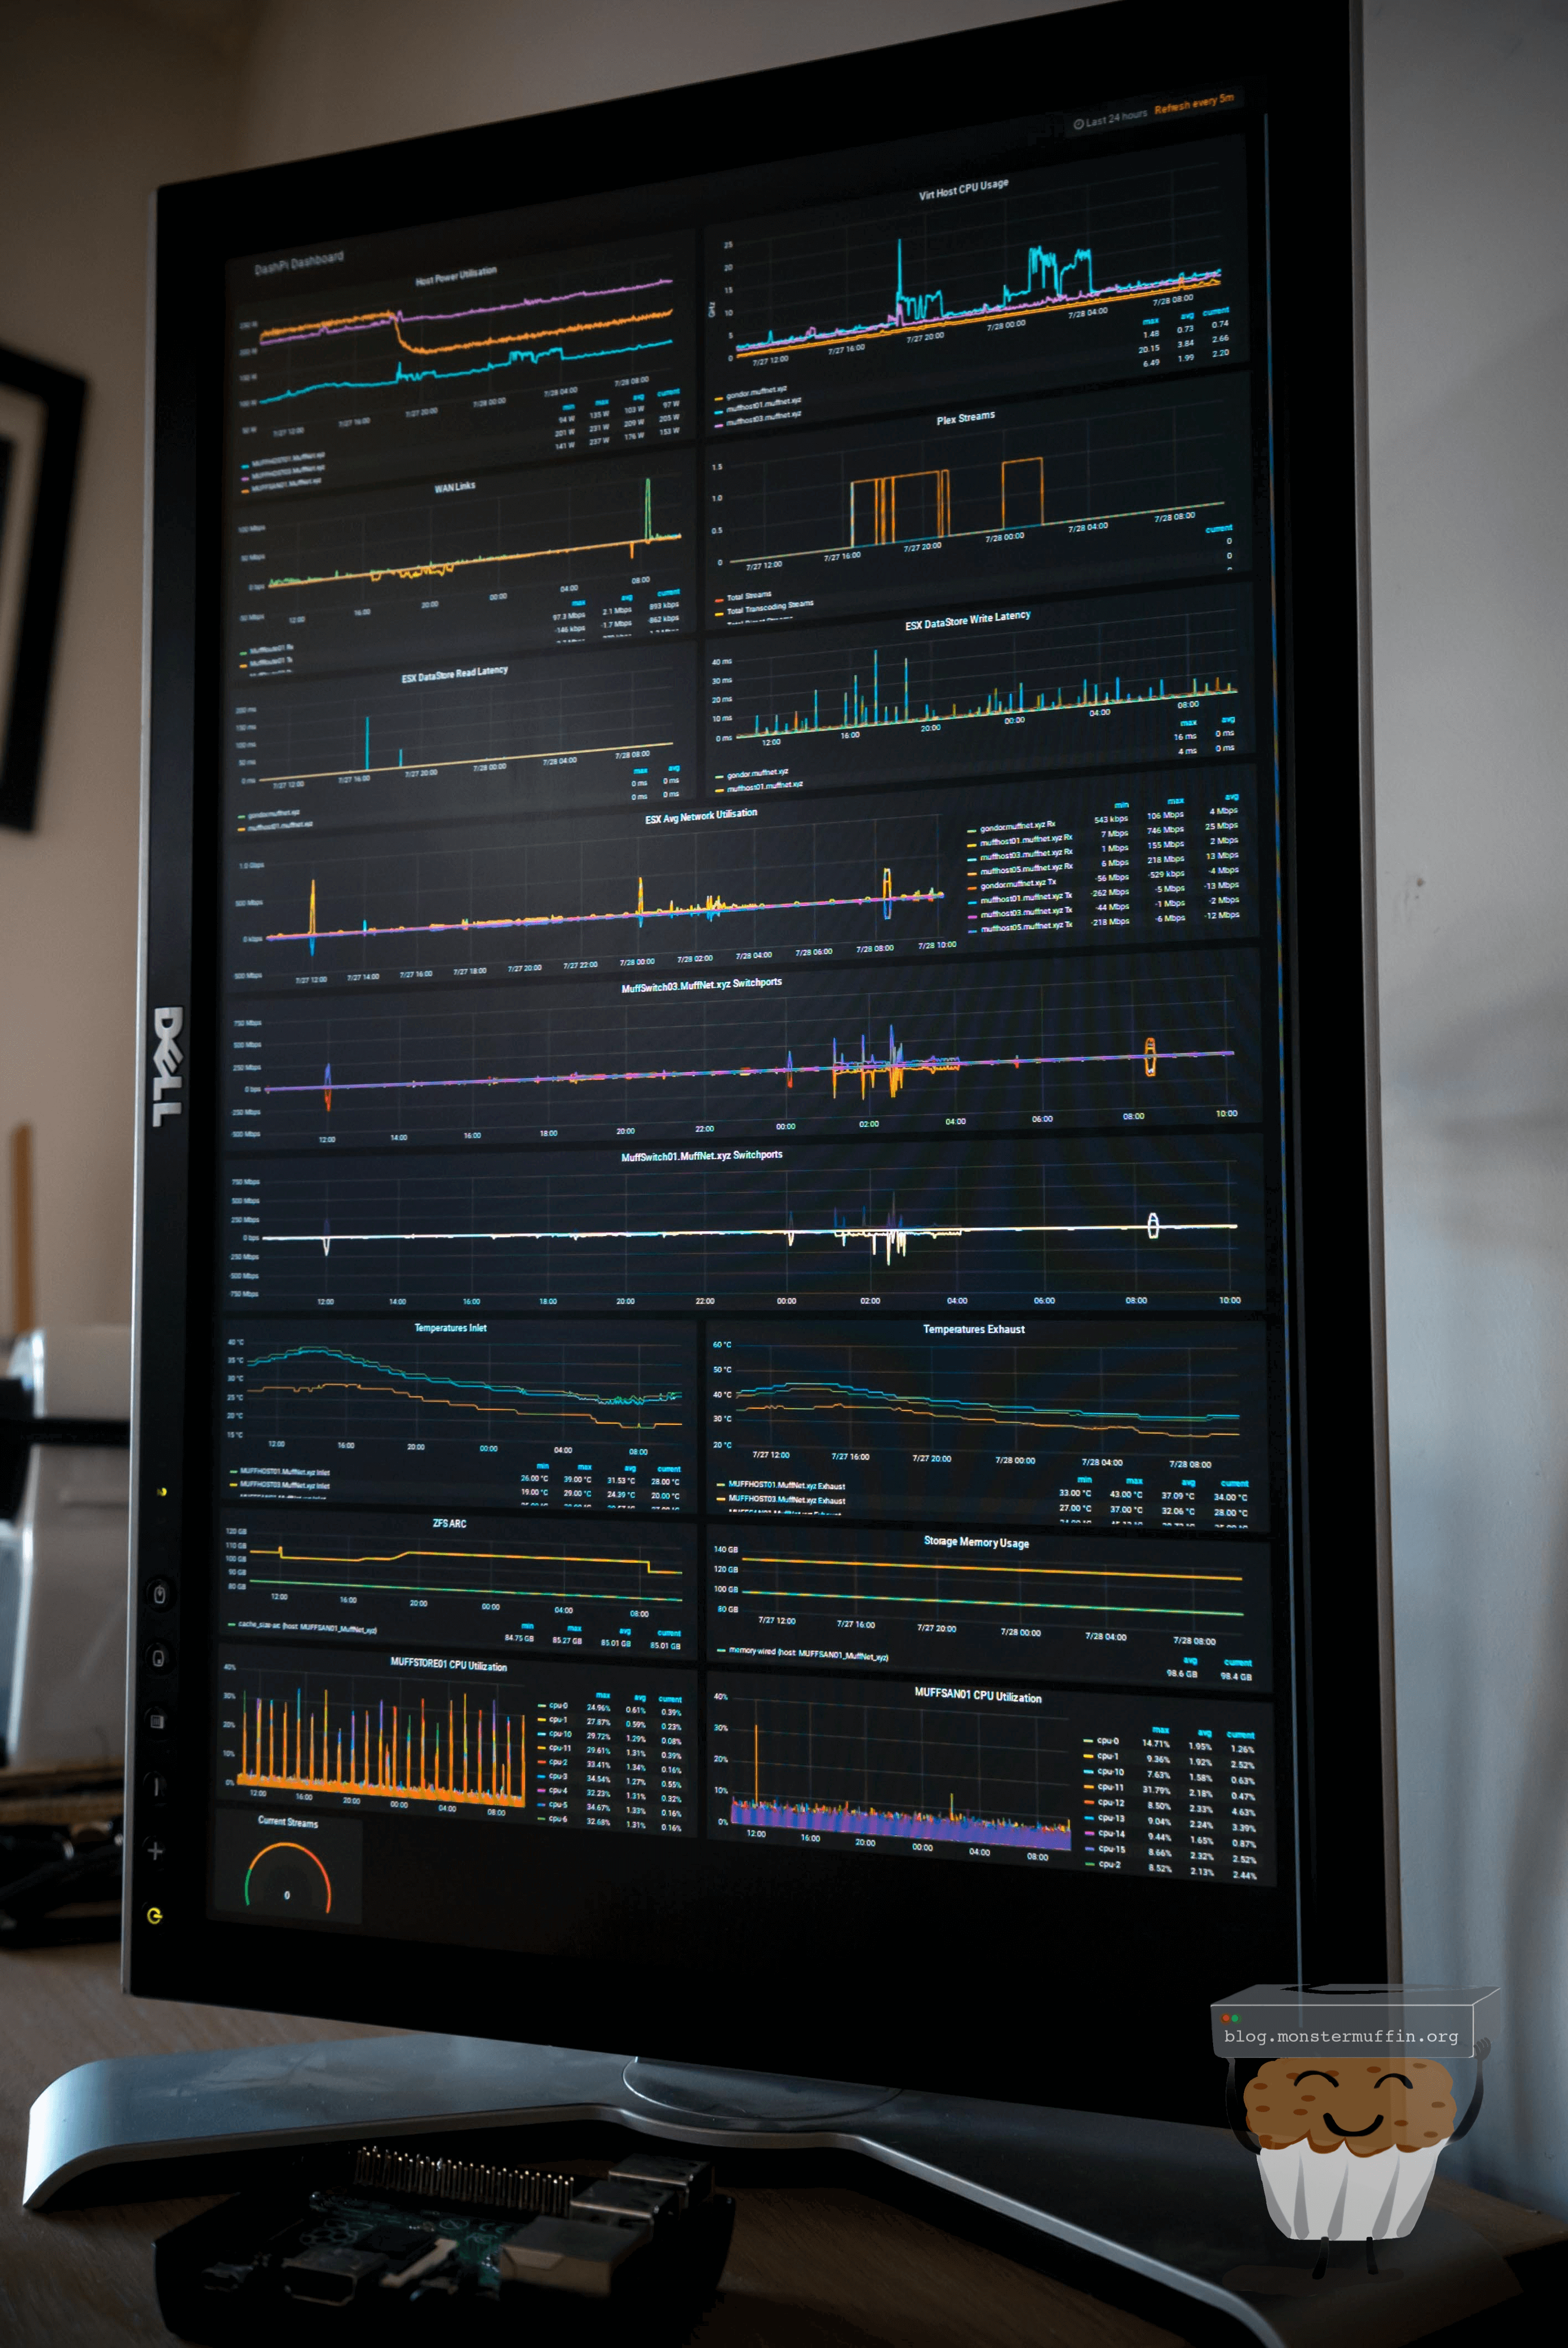
So, the final product looks something like this.
Now we can power up the pi and wait 1 min or 2, WiFi should come up as we preconfigured this. Check your DHCP leases for a new lease from the Raspberry Pi and SSH into it. The default username is pi, with password raspberry.
Raspbian Setup #
Change your password: Run the following command to change the password of the default pi user.
passwd
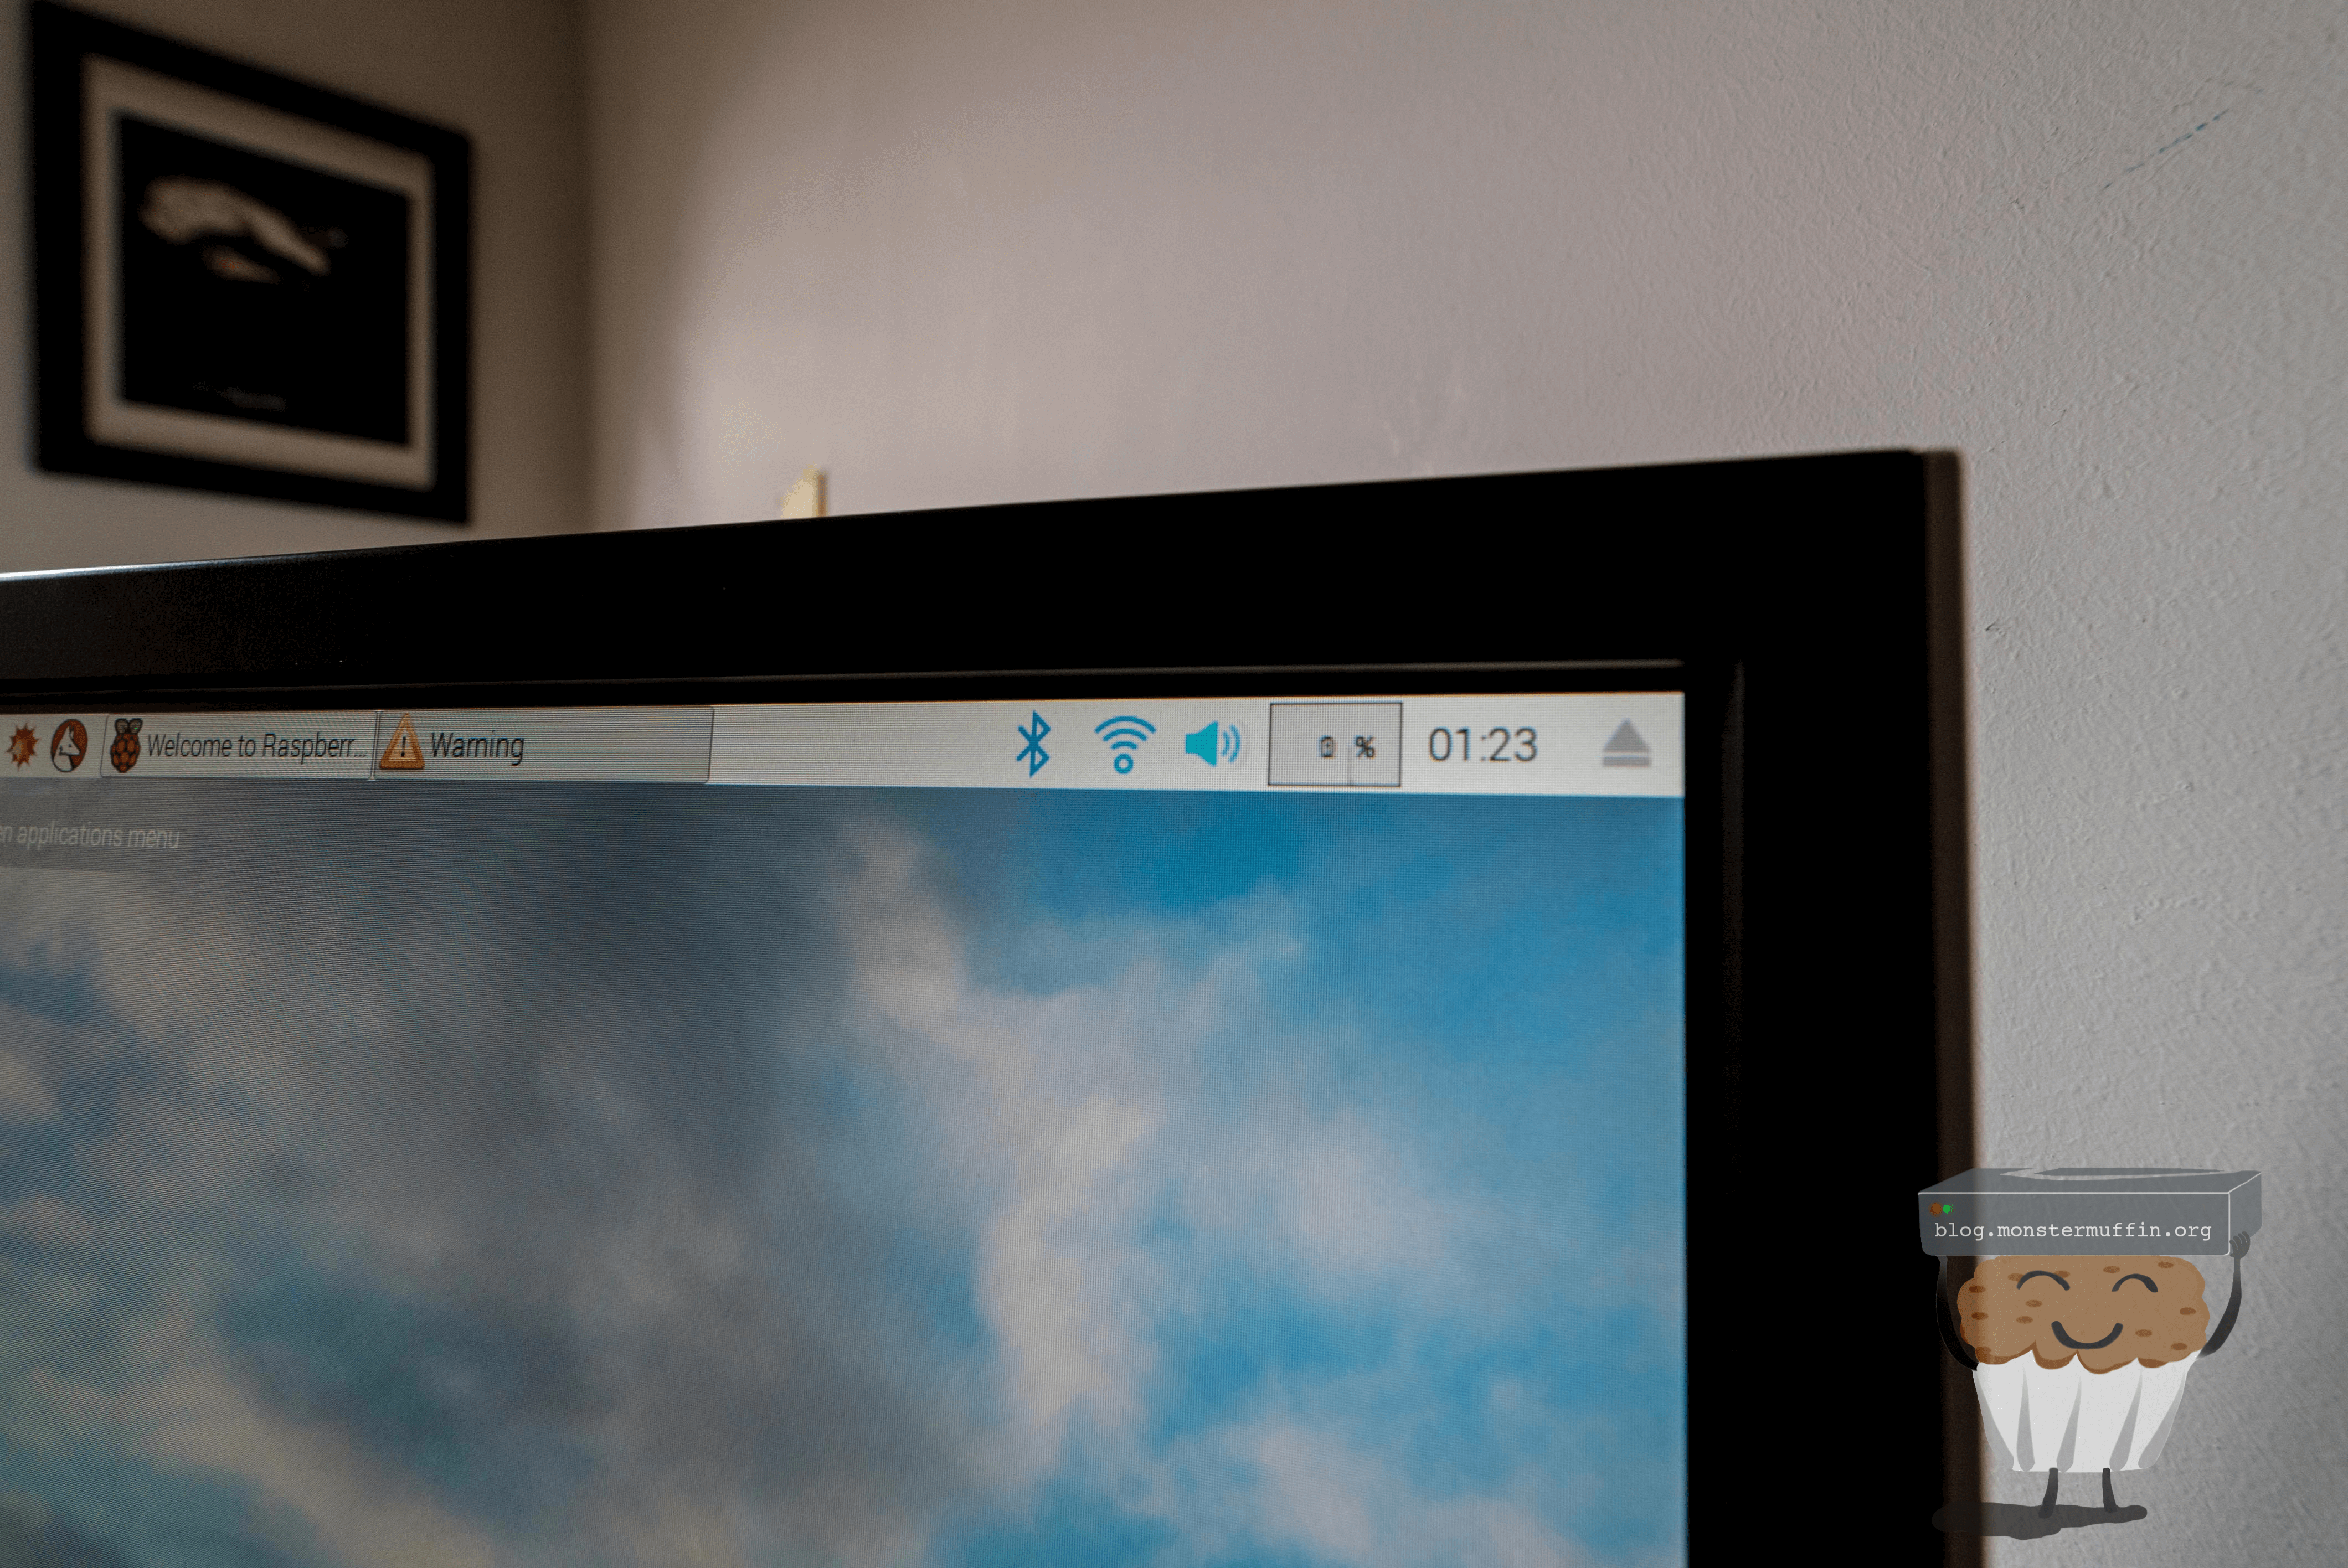
Set Country - When you logged in you’ll notice it says WiFi is disabled because country is not set, it’s not disabled… but we should set this anyway.
sudo raspi-config
Scroll down to localisation options, change wi-fi country, and set it there.
Enable VNC - This is not sctrictly required but can help in some situations, on the main menu of raspi-config, go to interfacing options and select P3, VNC.
Change your hostname: Change the default hostname in the following two locations. Use nano if vi if a myth to you.
sudo vi /etc/hostname

sudo vi /etc/hosts
Remove stupid bloat: Raspbian comes with useless shit on it. Whilst this won’t hurt anyone, I see no reason for it to stay. Run the following command to remove some bloat.
sudo apt remove libreoffice* wolfram* minecraft-pi sonic-pi scratch nuscratch idle3 smartsim java-common python-minecraftpi python3-minecraftpi bluej nodered claws-mail claws-mail-i18n python-pygame --purge -y
Clean shit up: Run the following to clean up.
sudo apt clean && sudo apt autoremove --purge -y
Update: Now we will ensure the Pi has all it’s repo’s updated, packages updated, and one final cleanup.
sudo apt update && sudo apt upgrade -y && sudo apt autoremove -y
At this point, reboot the pi and connect back for the next step.
Failure. #
So originally this project was using a Pi Zero as I think they’re awesome and works well well for light projects.
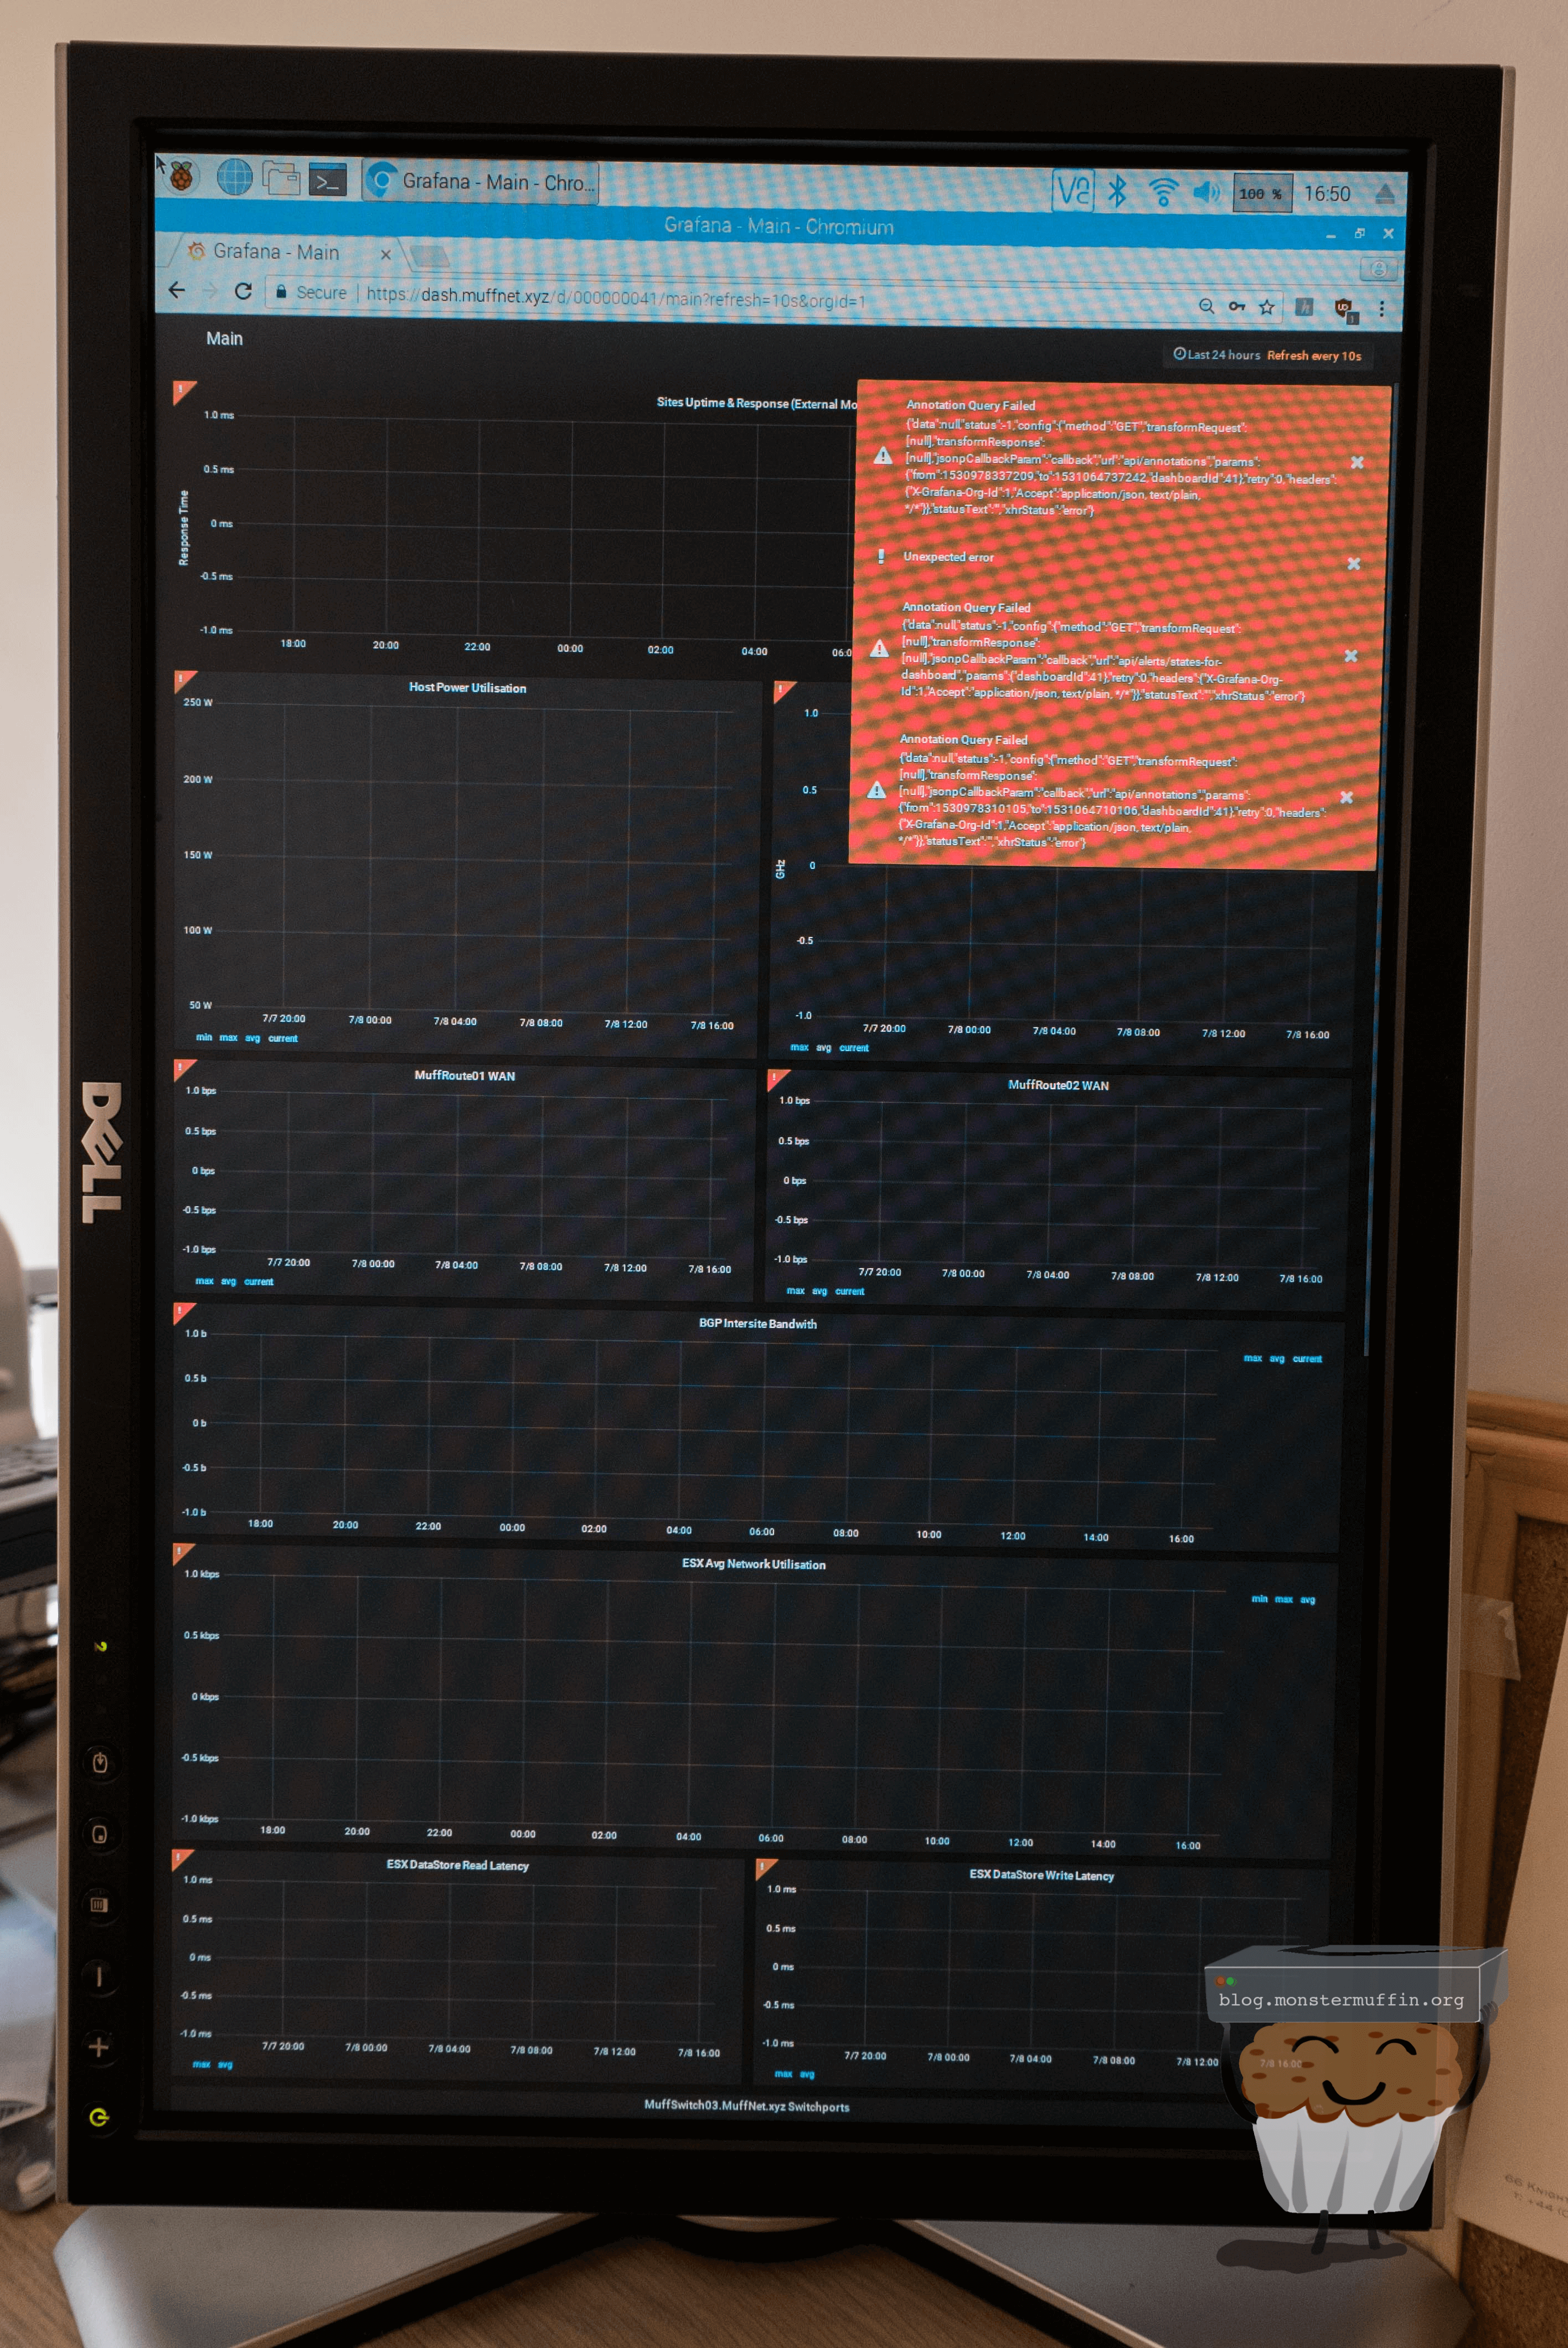
Unfortunately, upon testing the Zero was just too weak. It could barely load my dashboard and even when it did, reloads would kill it and it would stay pegged to 100% CPU, so I redid this with a Pi 3.
I didn’t realise how wank the picture would be of the monitor, so please excuse that.
Anyway, moving on….
Setting Up The Kiosk #
First we need to hide the cursor and disable the screensaver, so run the following:
sudo apt install x11-xserver-utils unclutter -y
Now we edit the autostart script.
sudo vi .config/lxsession/LXDE-pi/autostart
The following will stop the pi from loading the screensaver and tell Chromium that we are exiting cleanly when we yank the power.
@xset s off
@xset -dpms
@xset s noblank
@sed -i 's/"exited_cleanly": false/"exited_cleanly": true/' ~/.config/chromium-browser Default/Preferences
Now we will setup the kiosk by adding this line, replacing the URL with one that you want to load.
@chromium-browser --noerrdialogs --kiosk http://grafana02:3000/d/p6d0ddOik/dashpi-dashboard?refresh=5m&orgId=1&from=now-24h&to=now --incognito --disable-translate
You can see here I’m using Grafana02, this is because my primary instance has authentication and whilst my good pal DMarby did help me setup some fancy request headers and authentication proxy methods to allow the Pi without auth, I was having some issues, so I am instead using a dev VM I have which is all open without auth, but only locally.
I’ve opted to show the last 24h of stats, and 5min reload time seemed to be the sweet spot.
Save that file and issue a
sudo reboot
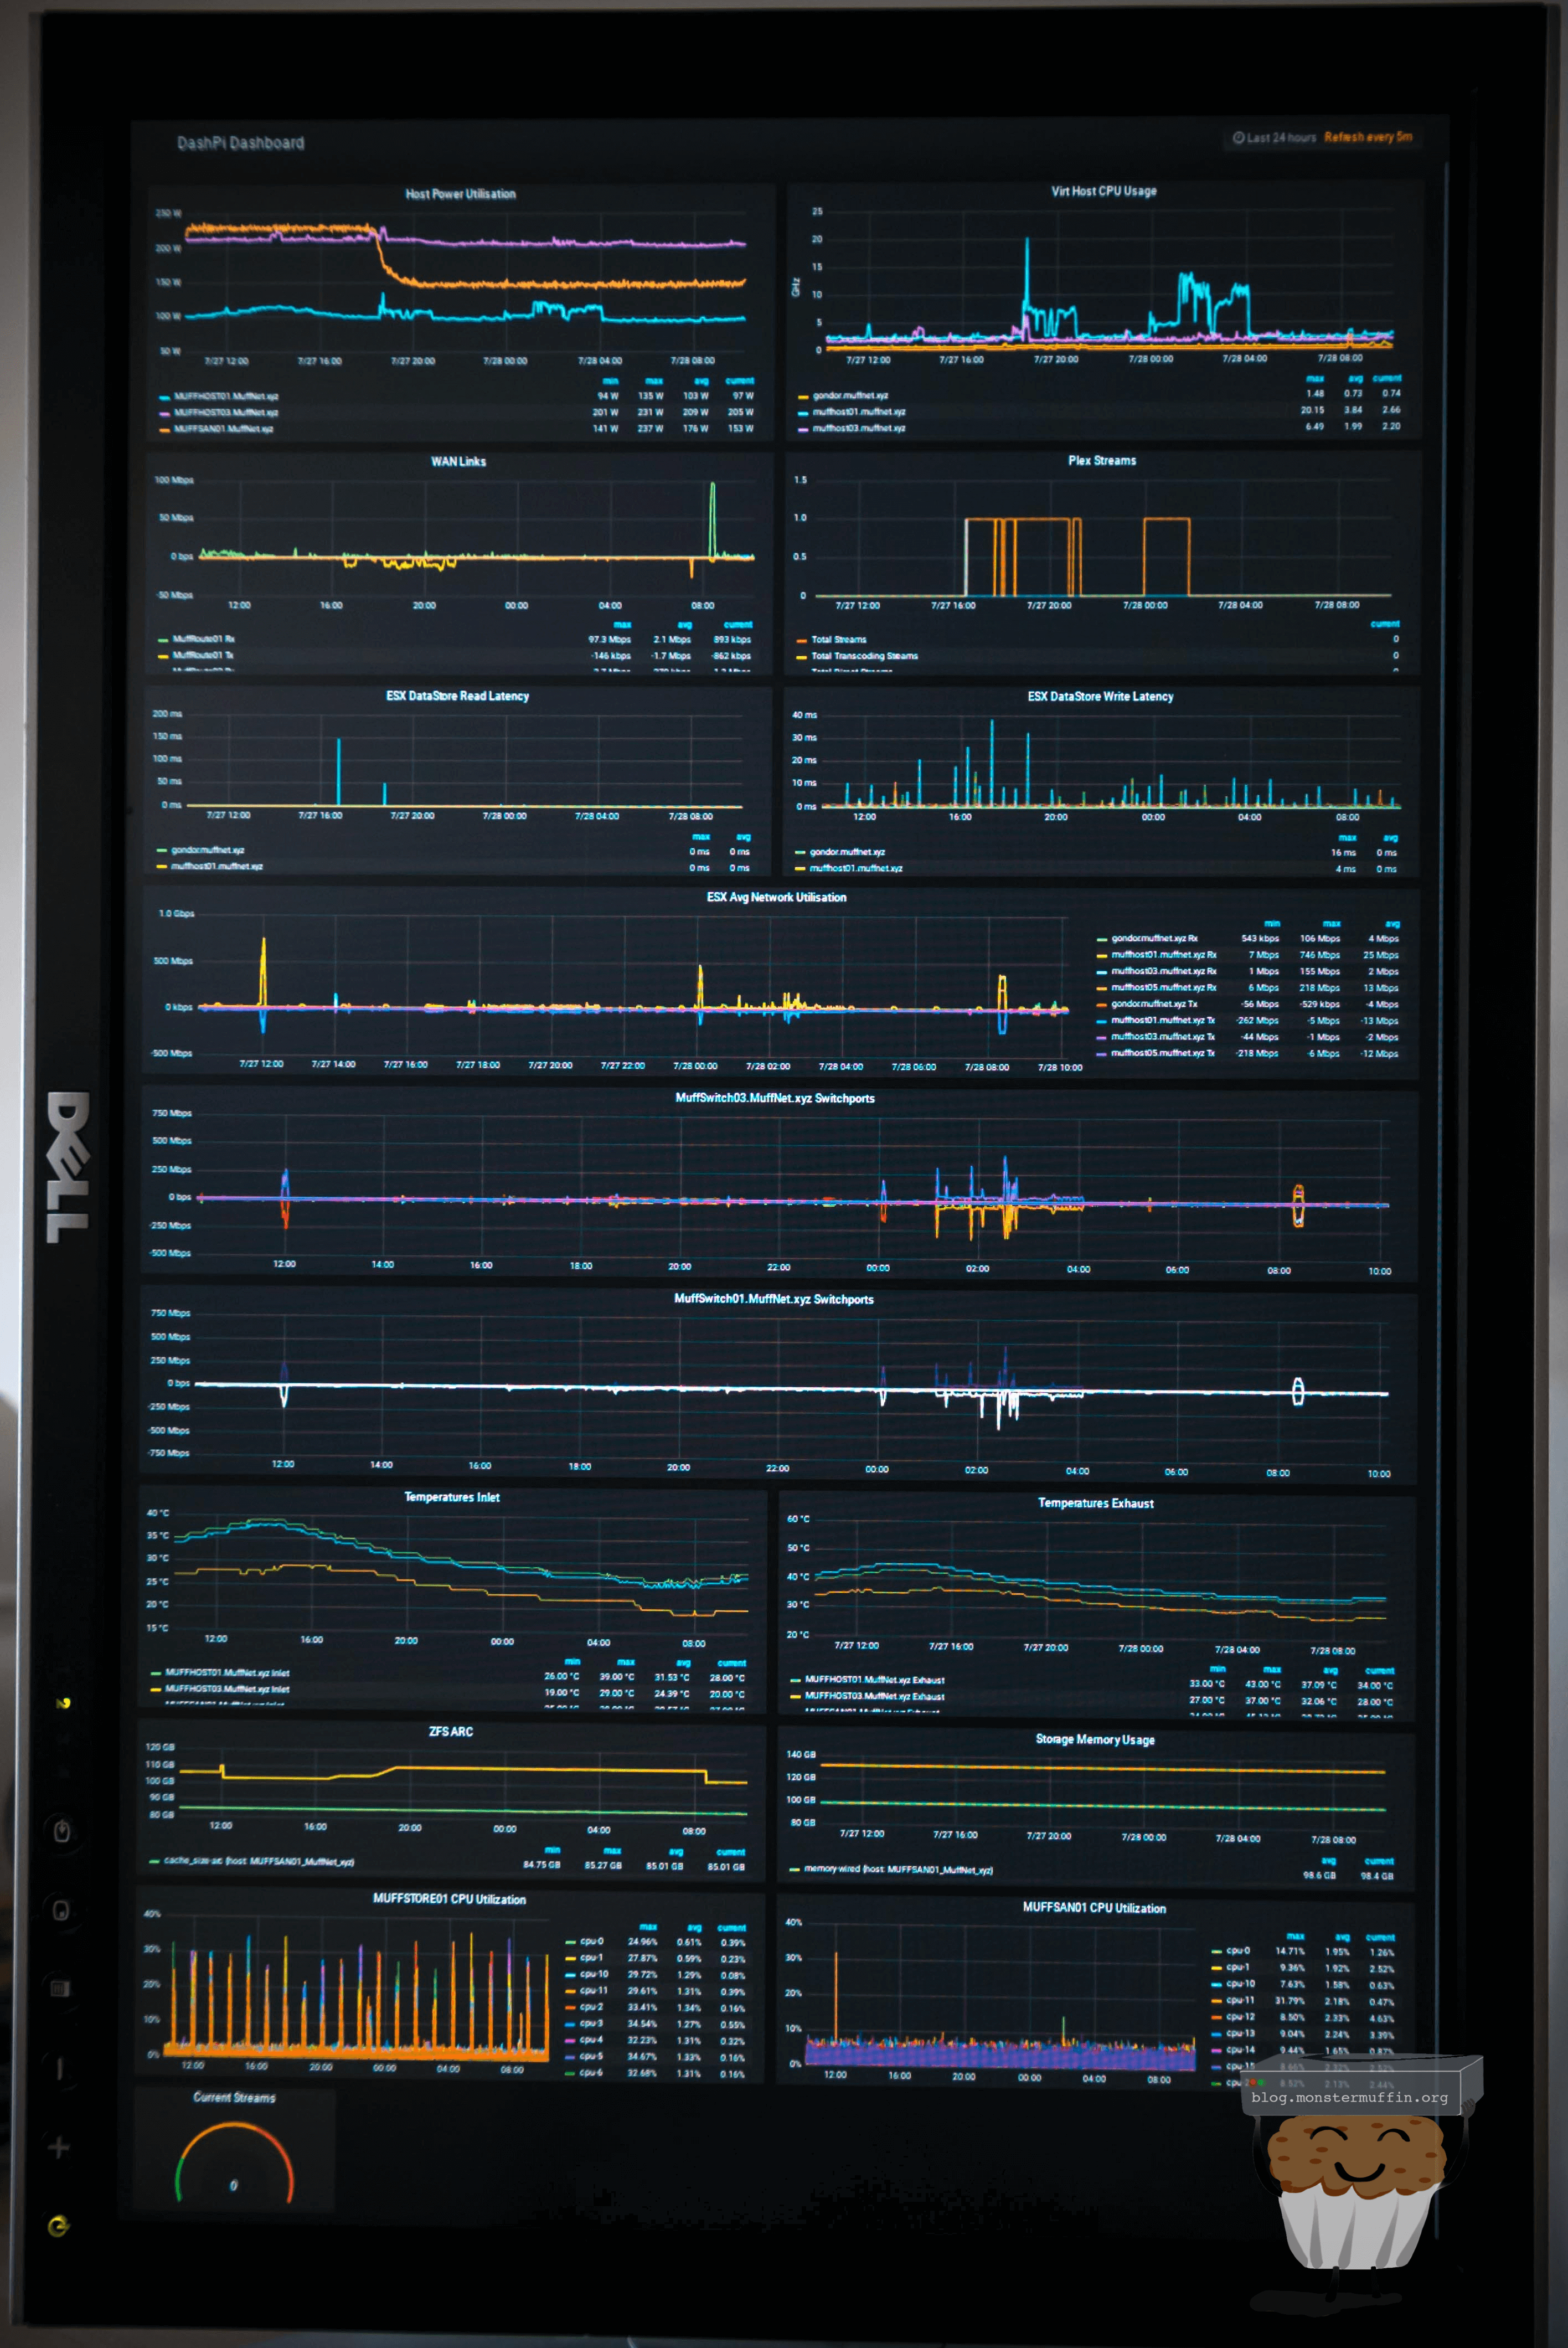
Upon booting and waiting a little bit you should have that page load right up!
I did have to do some tweaking to the dashboard to make sure what I wanted to fit, fit but after that, things looks pretty sweet.
And that’s it! #
Thanks for following along, hopefully, this is something that will interest some of you.

